Our Process
How We Build a Garden Room

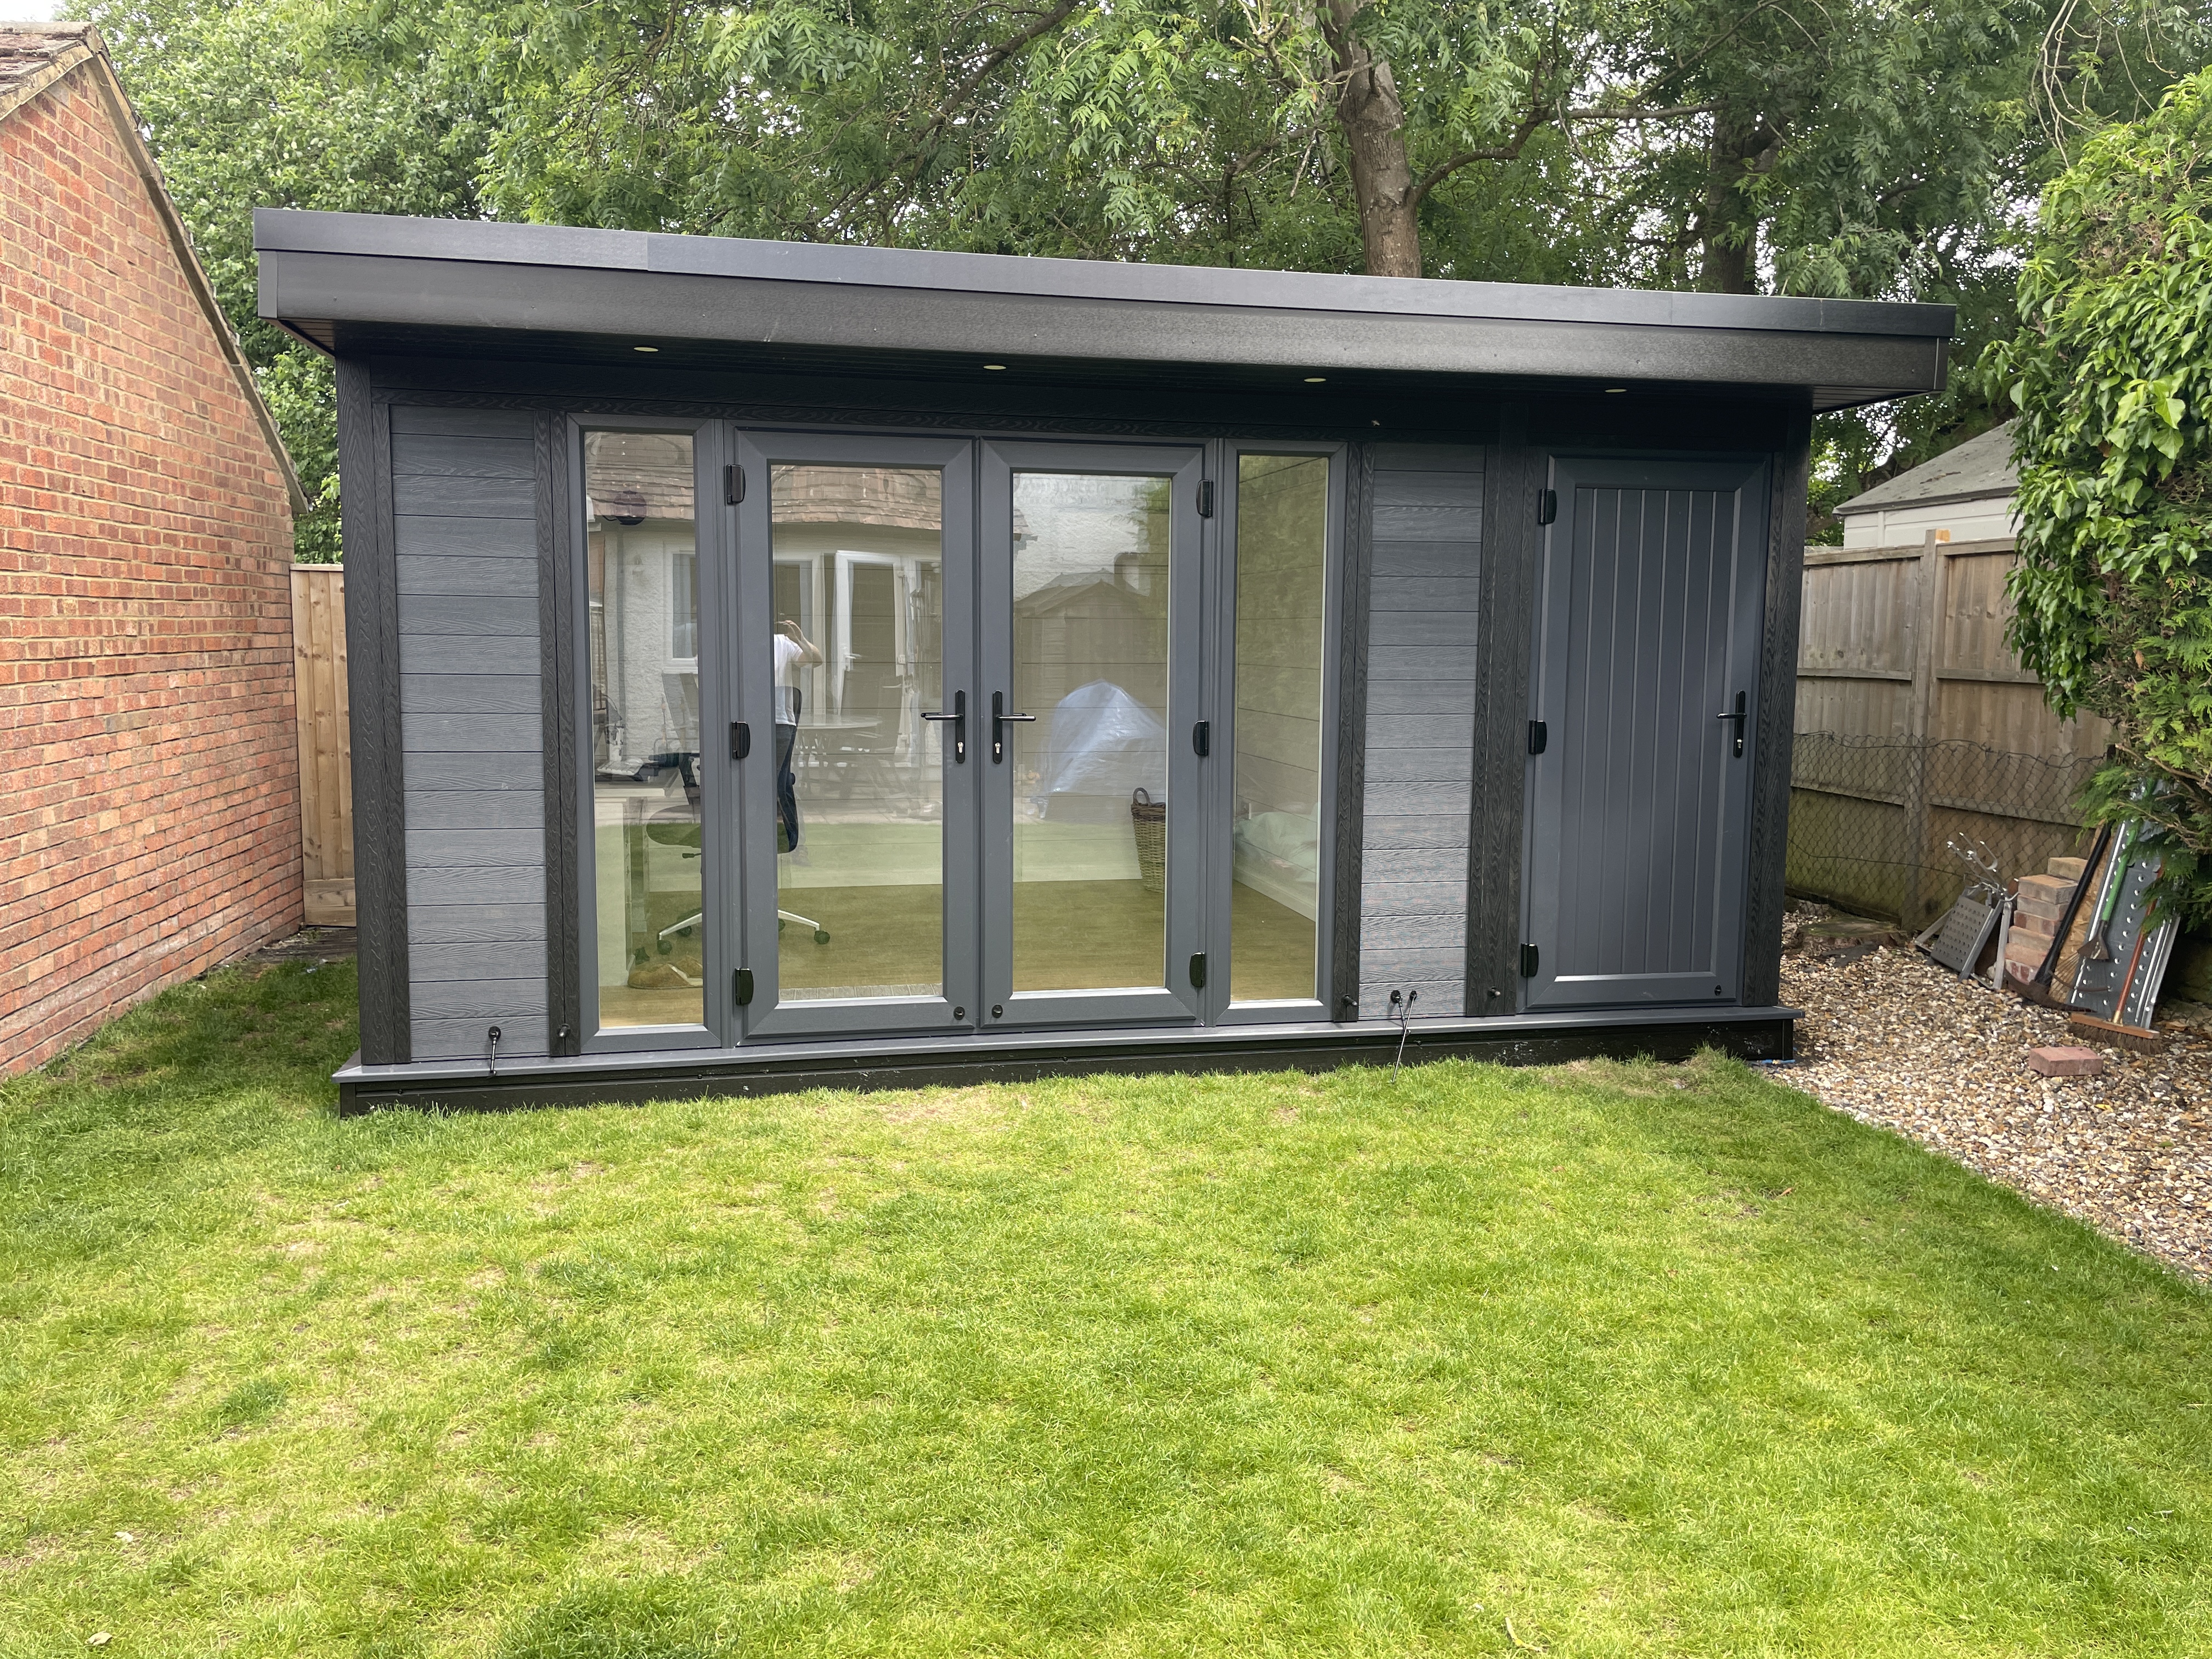
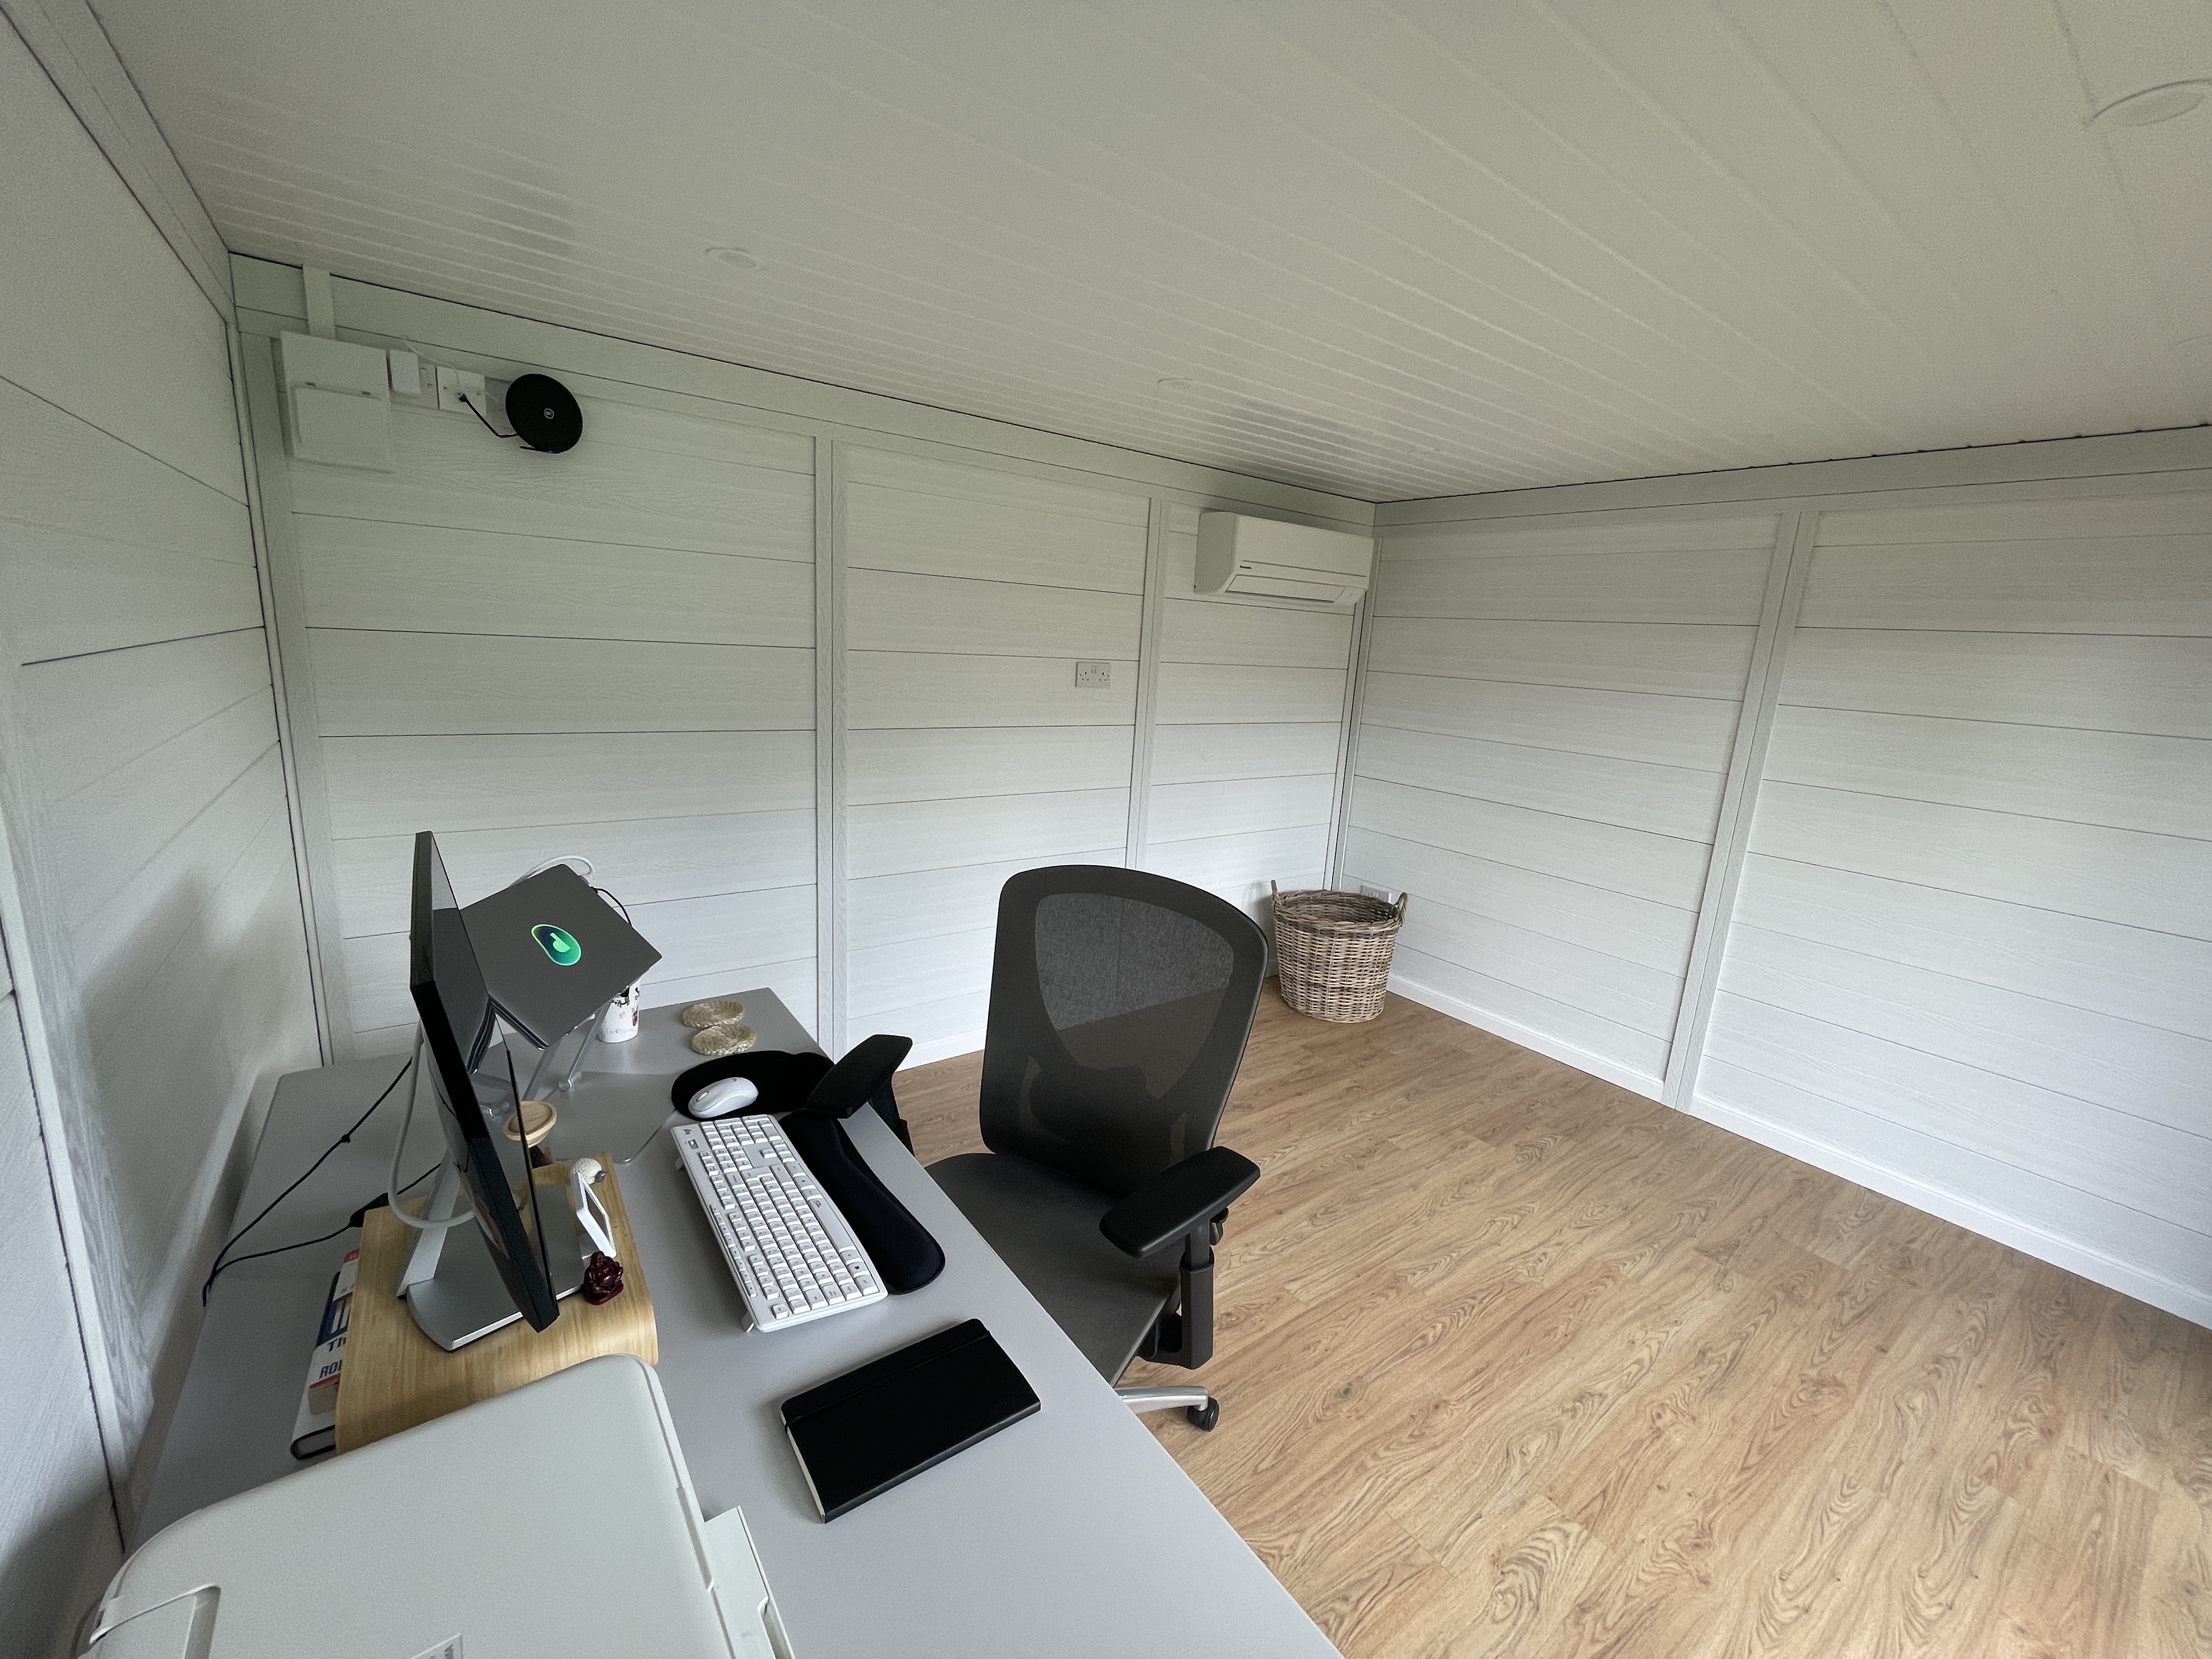
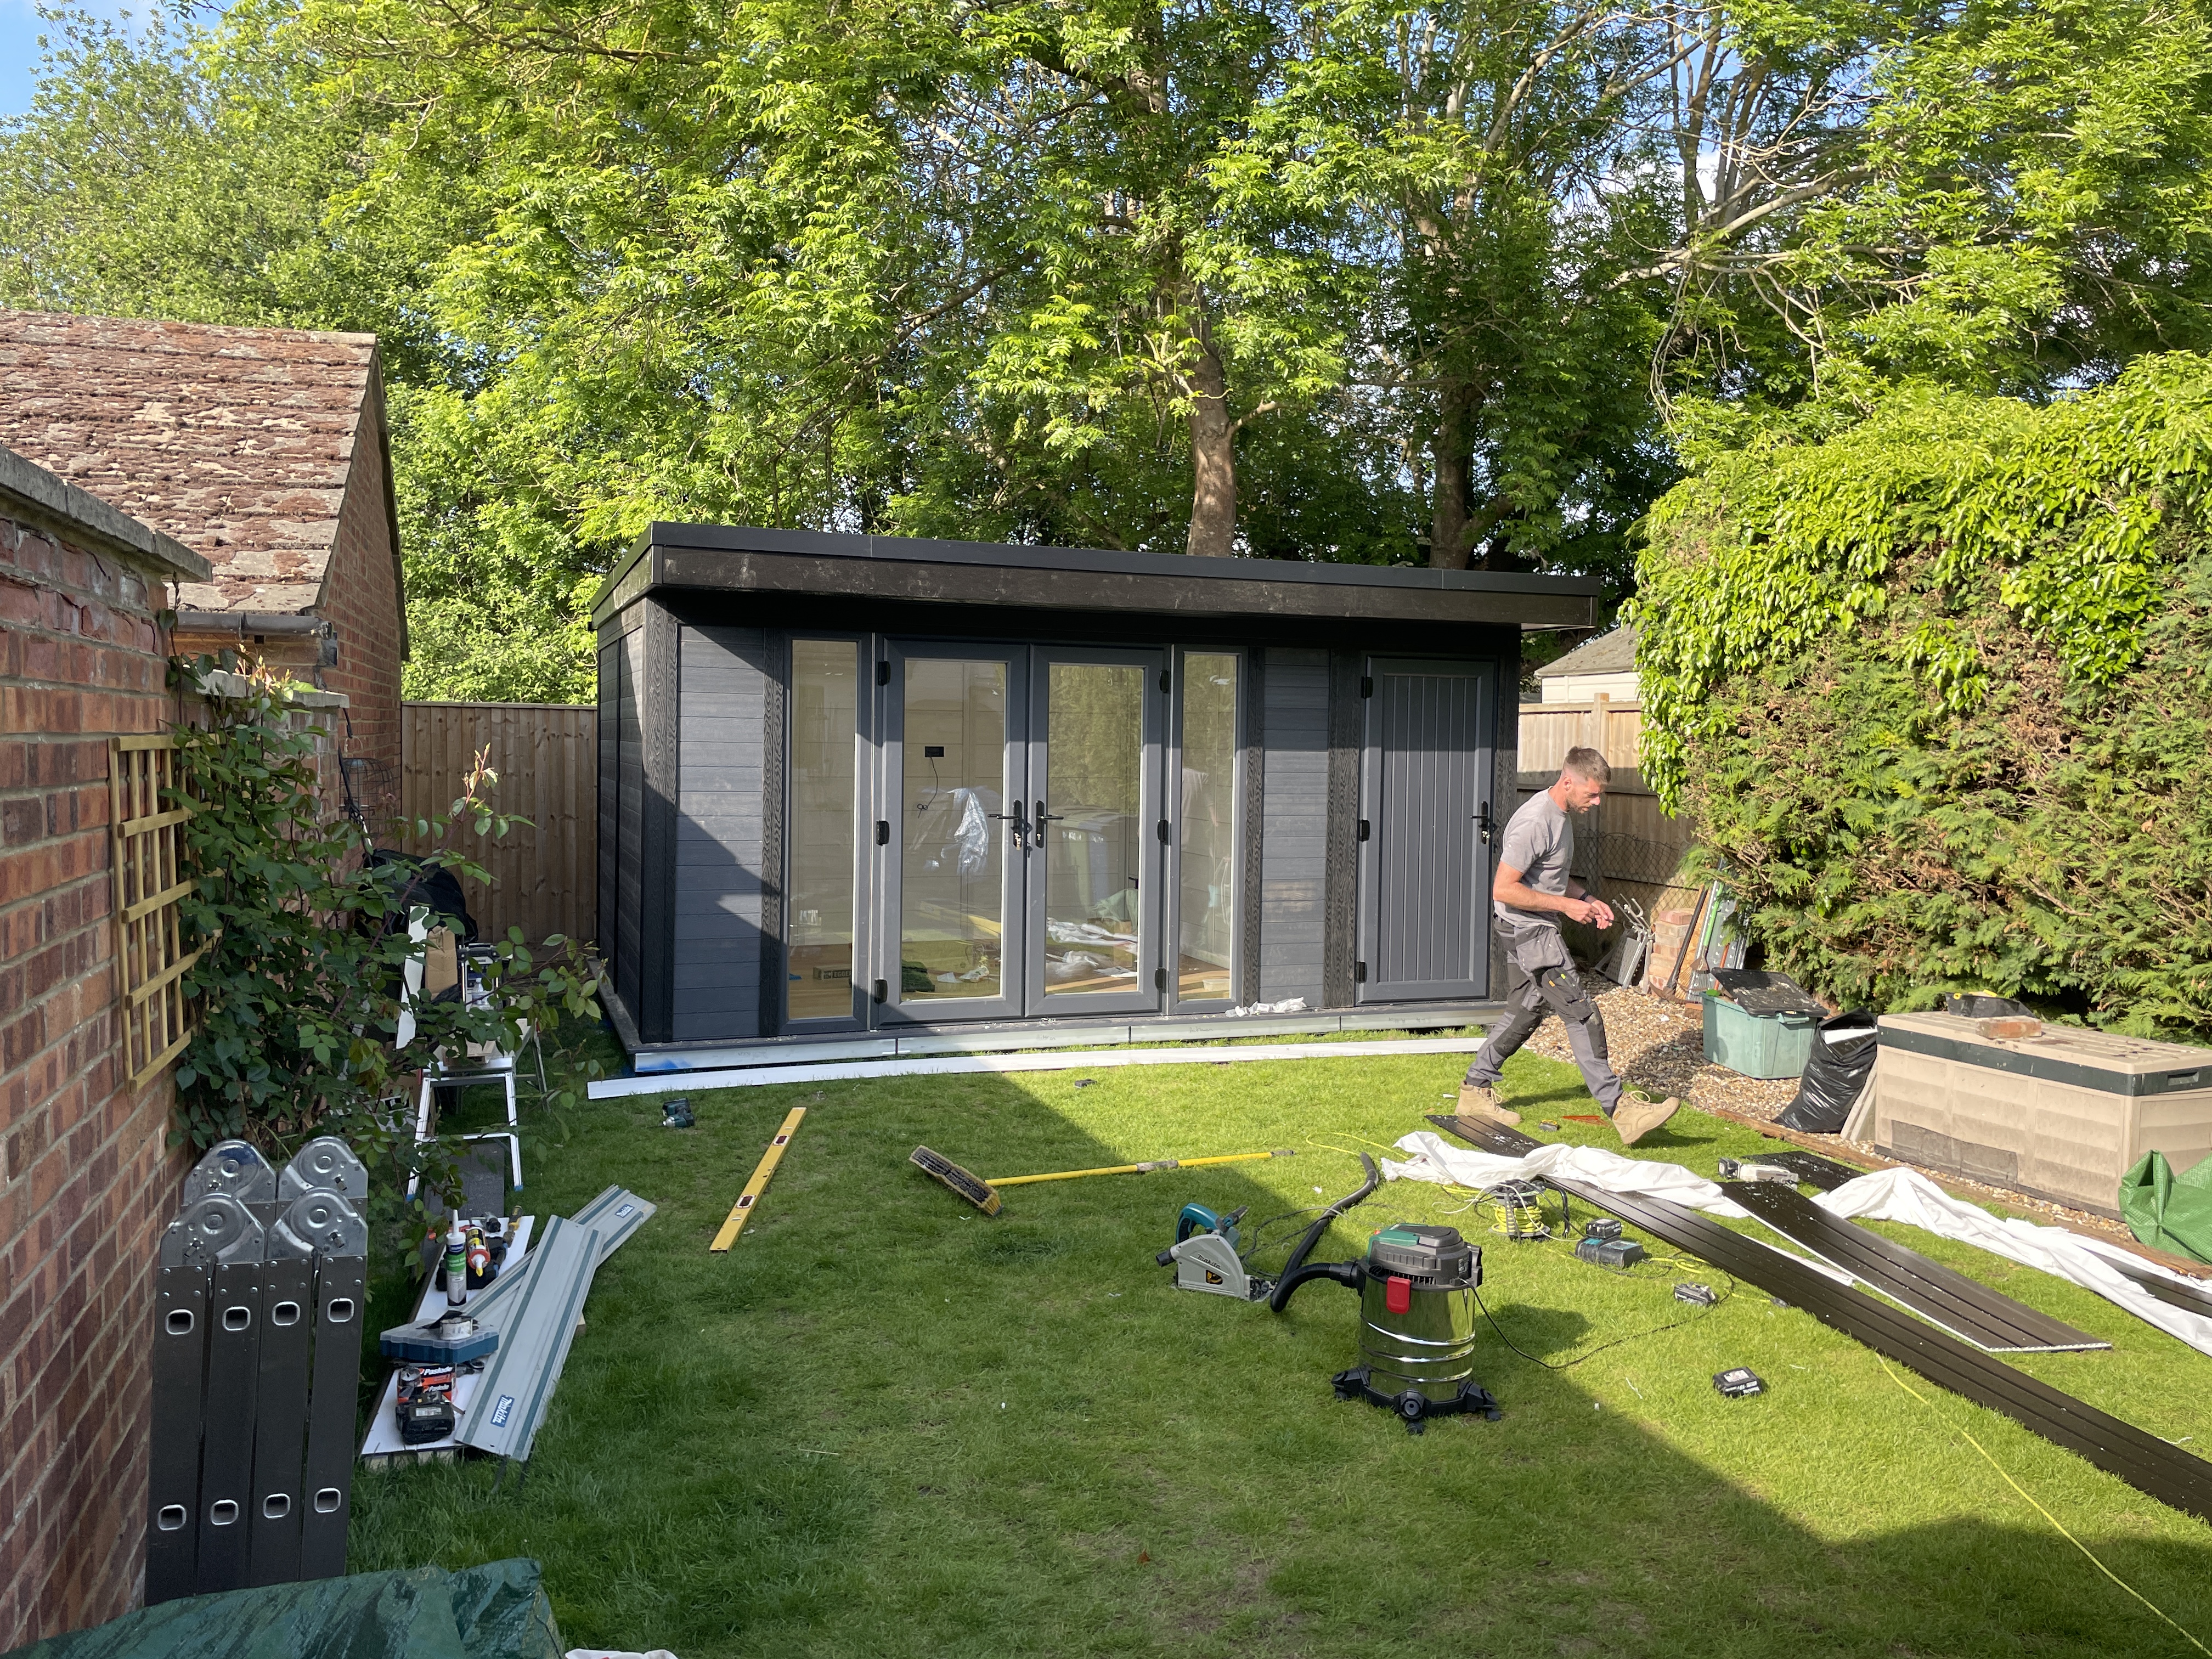
Ever wondered what actually happens when we turn up in your garden? Here's the full process — from bare ground to finished room. No jargon, no mystery. Just honest, straightforward build stages that show why a composite wood room from Garden Rooms Online is different.
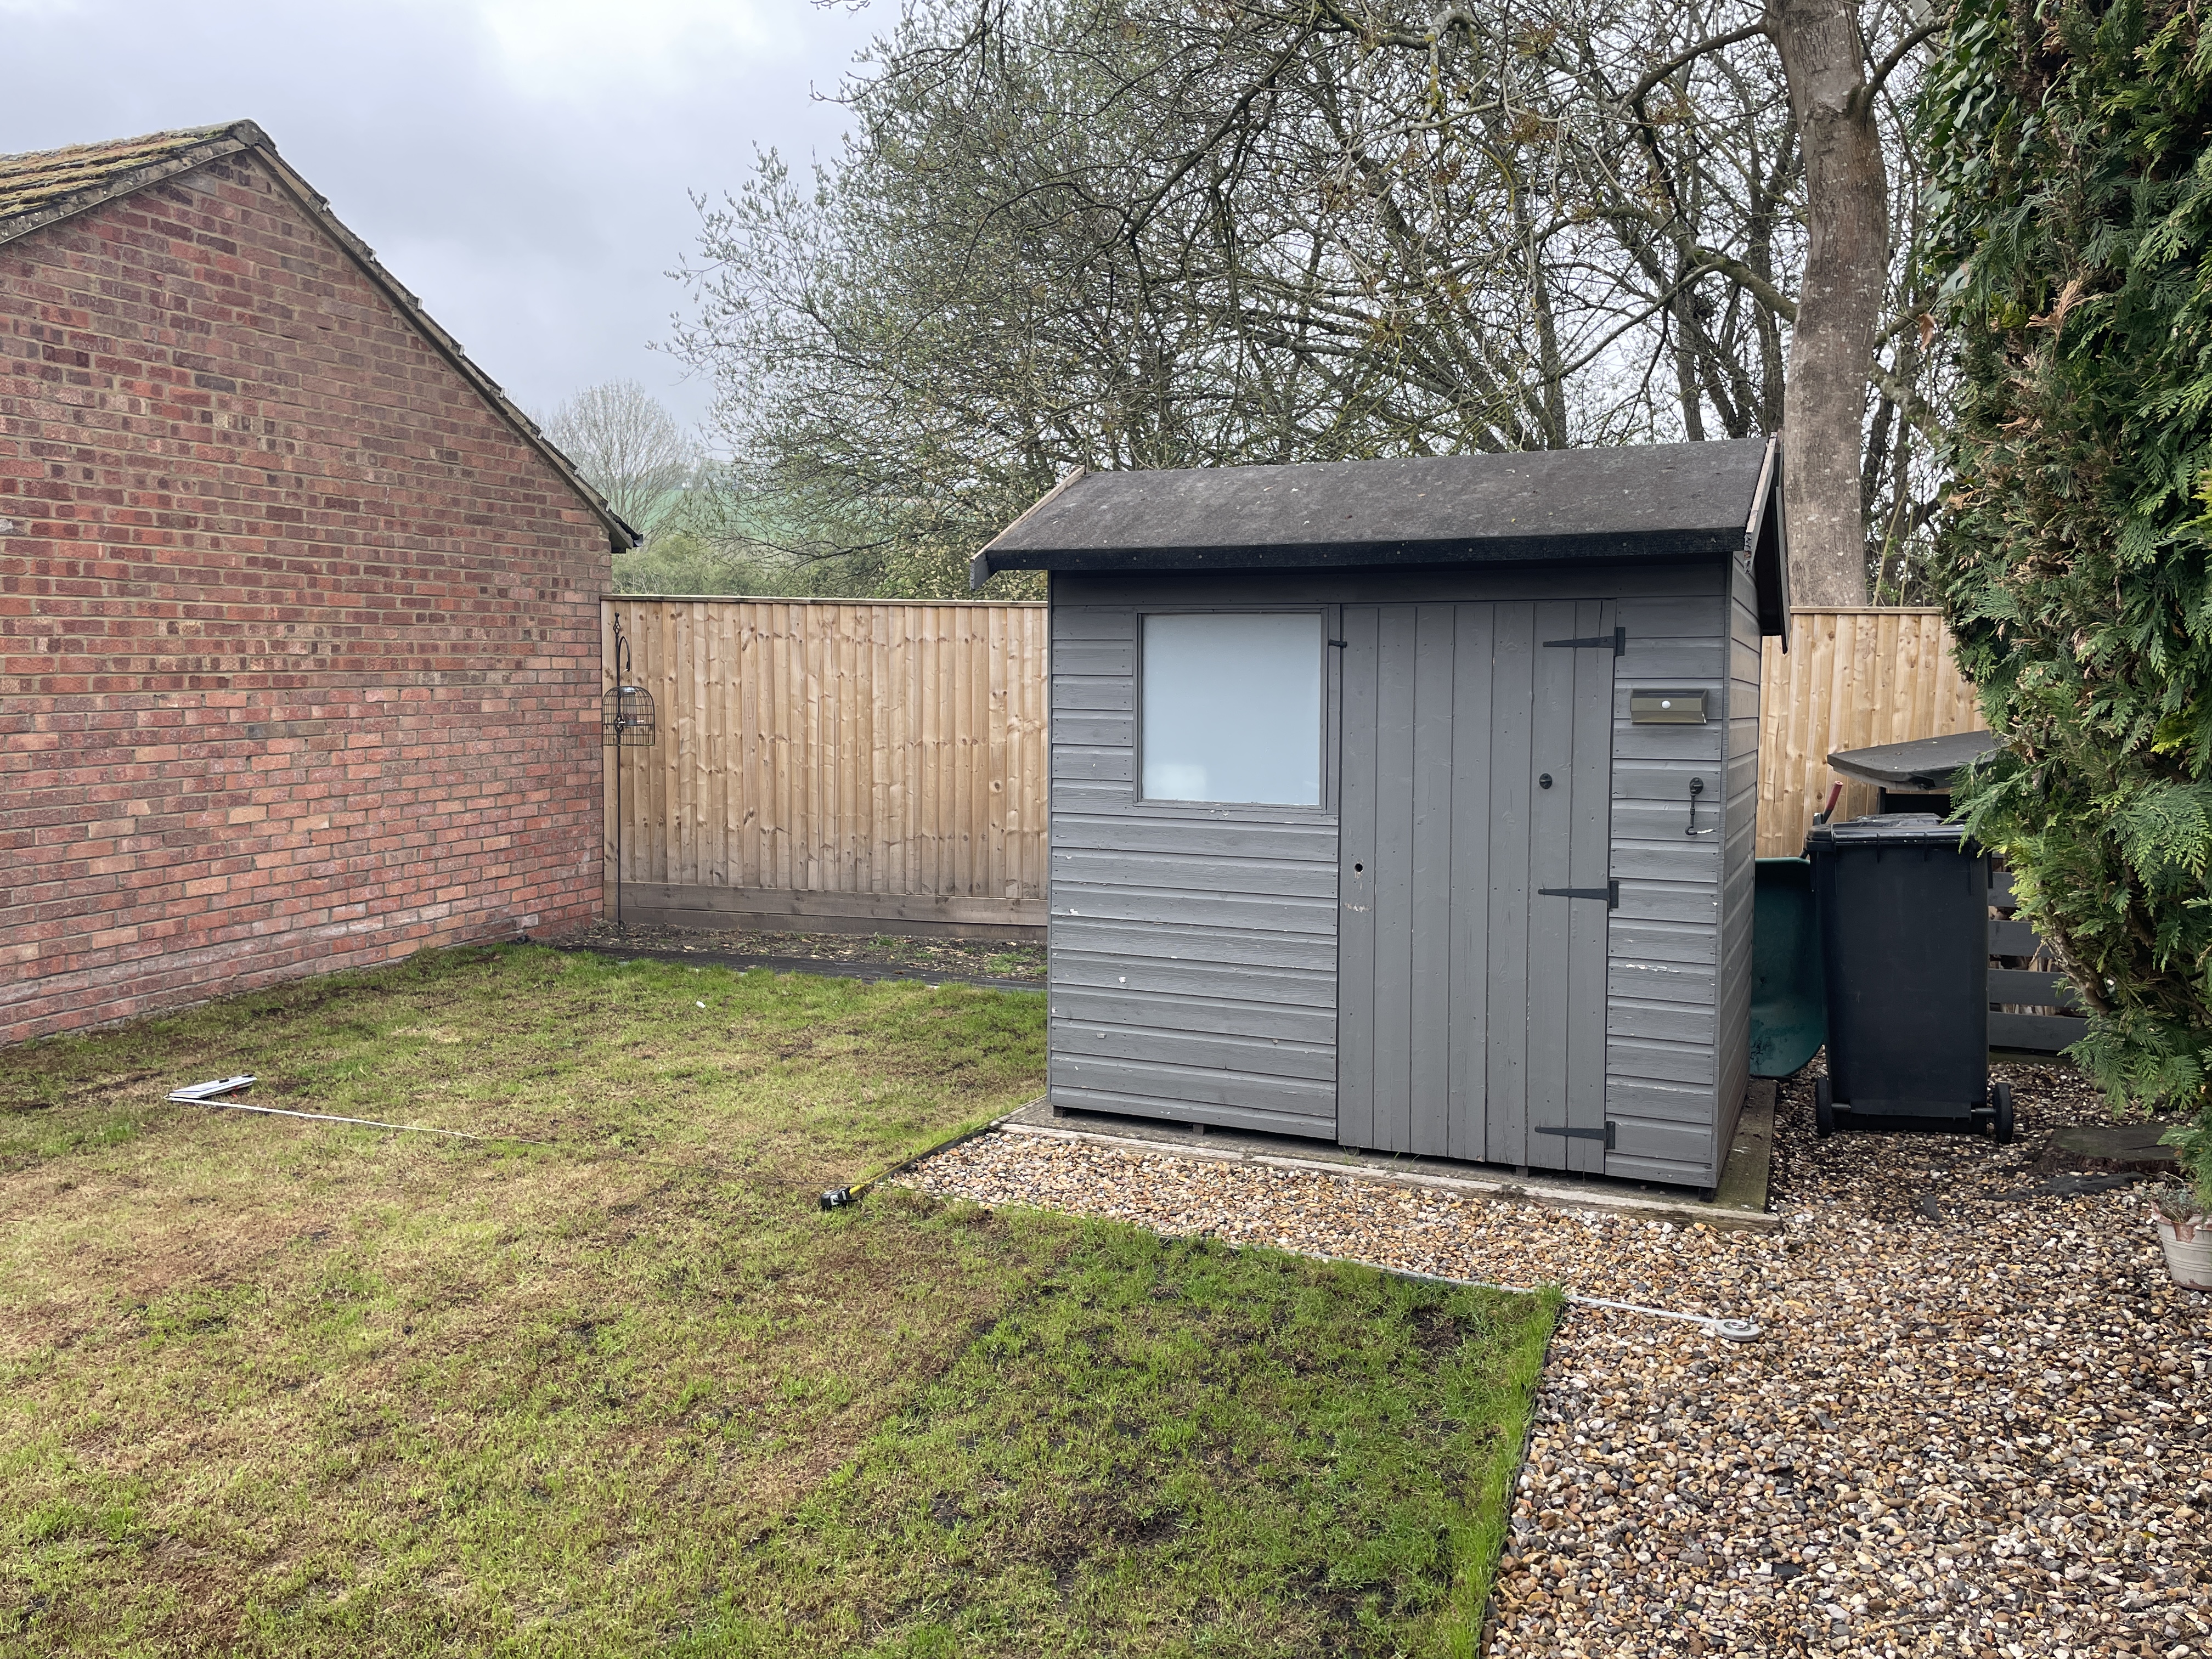
Every Garden Room Needs a Firm Base
Garden rooms, like all buildings, need solid foundations to support them and keep them from sinking into the ground. We supply and install a no-digging ground screw pile system to support your garden room. Using 1m or 1.5m screws, we drill them into the ground to create a level set of pads to start building from. The pads are set to the highest point of the garden — a simple way to overcome any sloping garden installations.
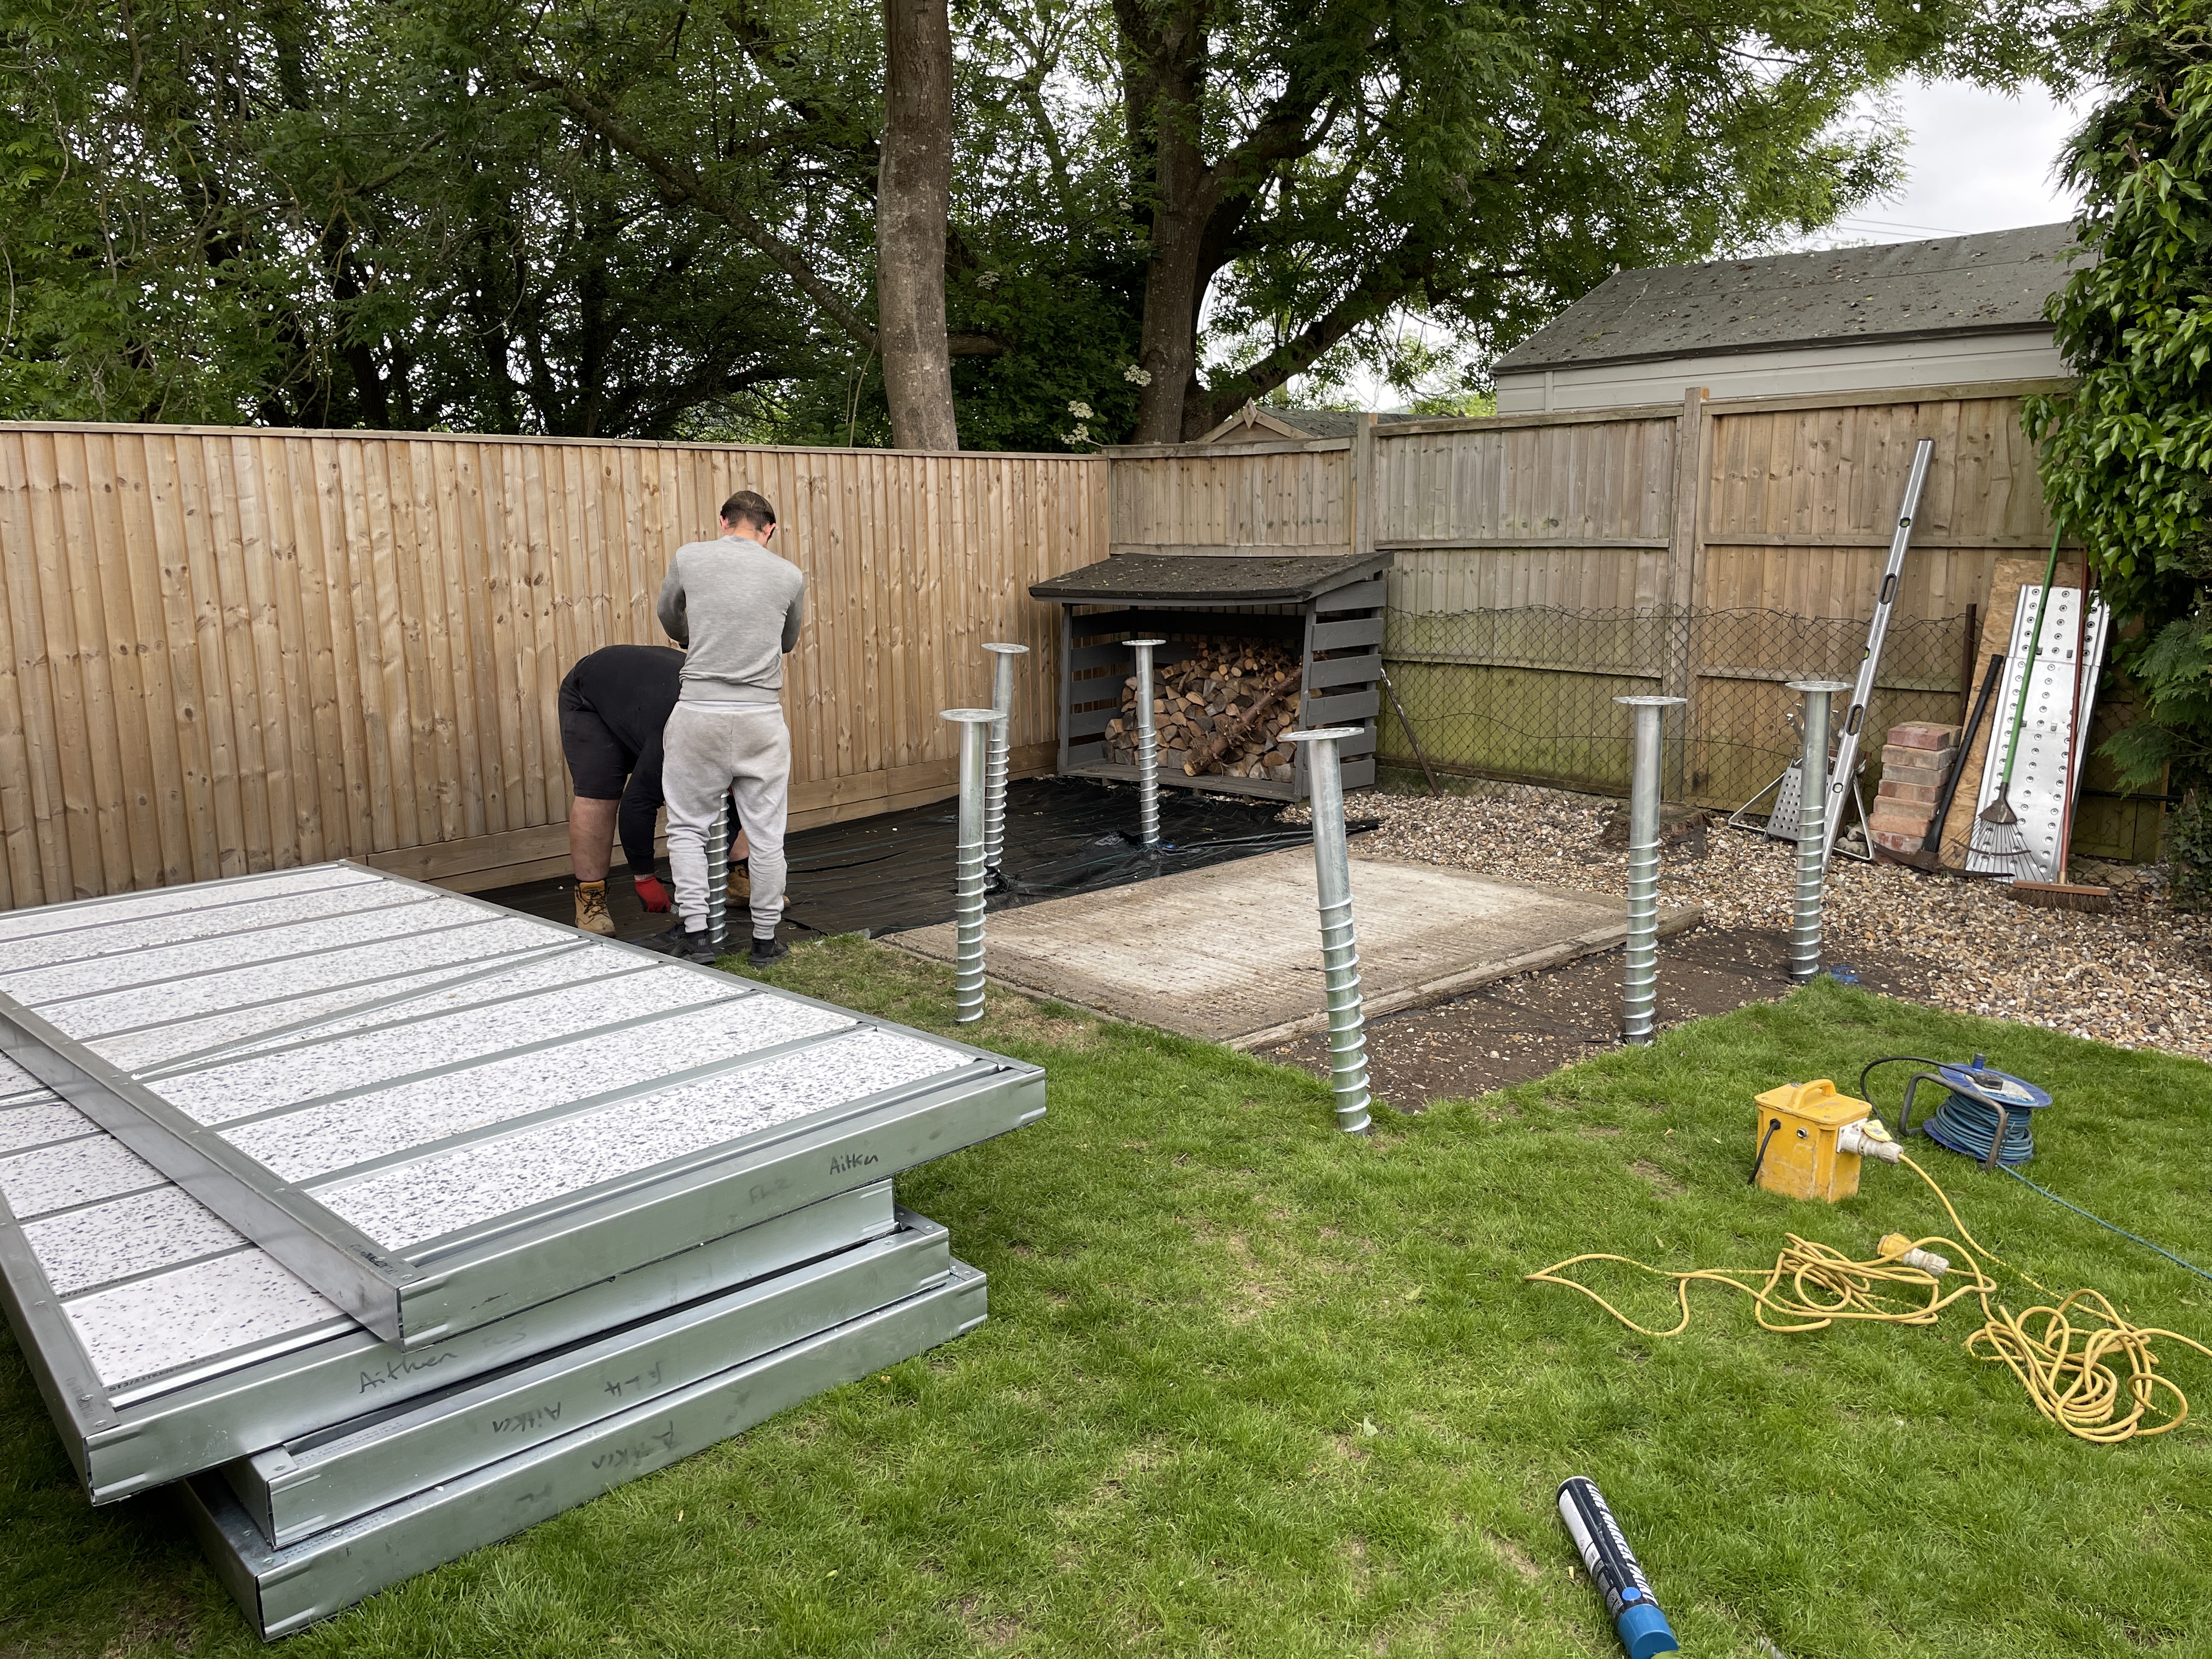
Ground Screws — Installed in Less Than a Day
The advantage of our ground screws is they can be installed in less than a day with no digging out of your garden and no concrete. The ground screw system hardly disturbs your garden — no wheelbarrows of soil, no skips, no mess. We can even install our base directly over an existing shed base — no need to dig it up. We can also build onto a concrete base, whether newly laid or already in place.
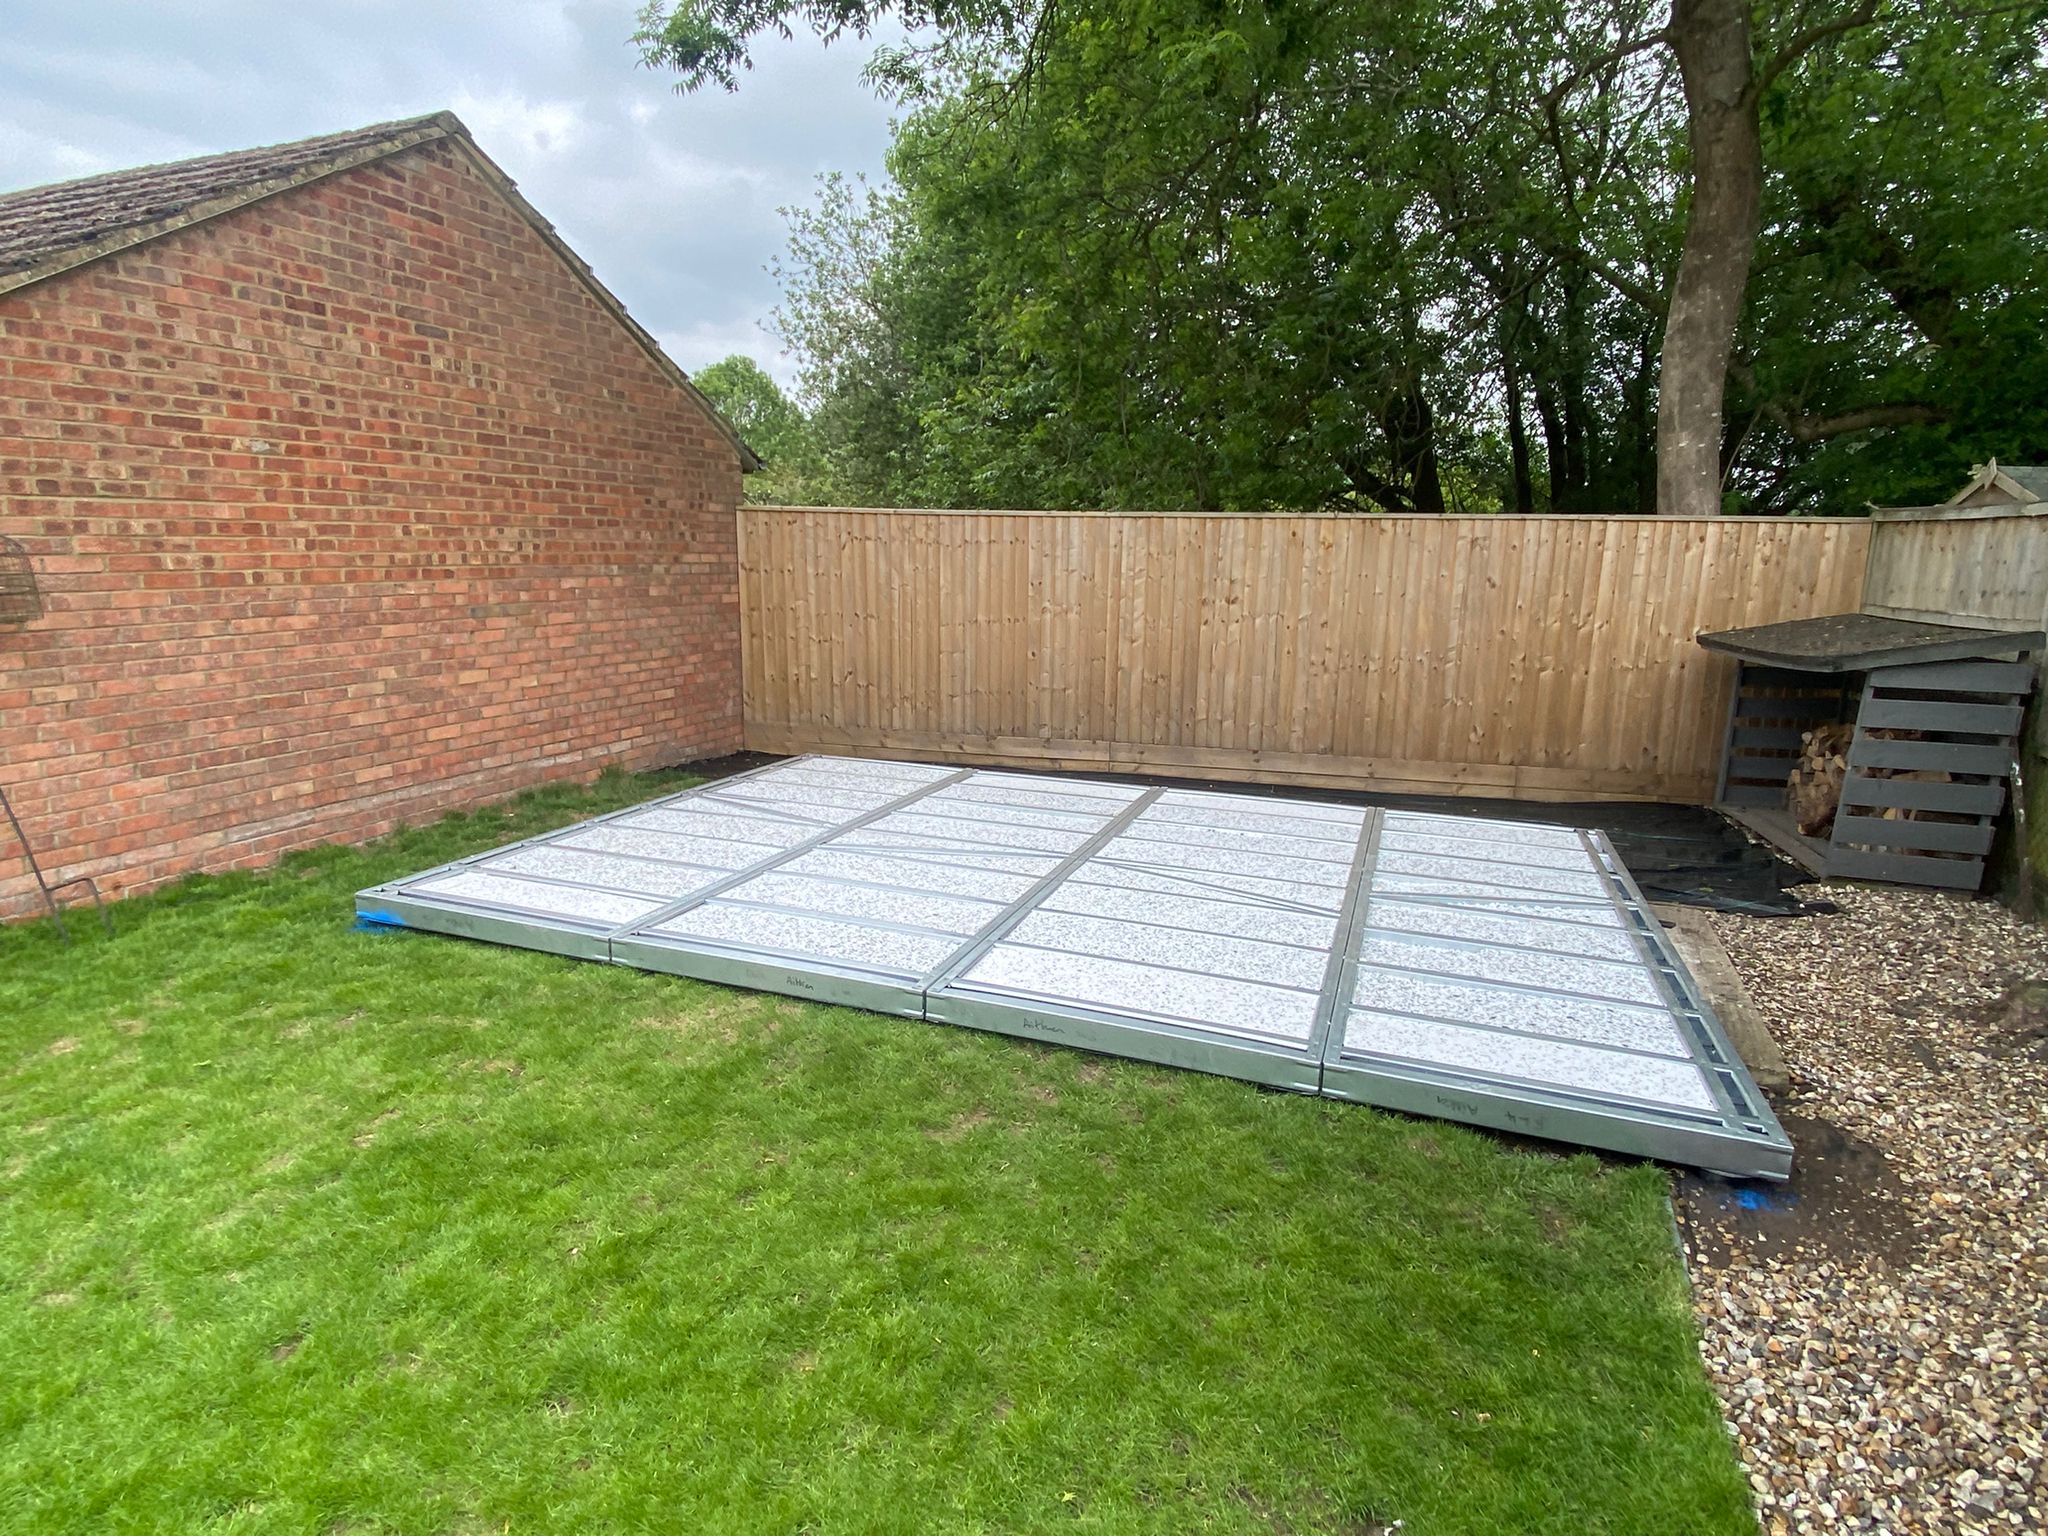
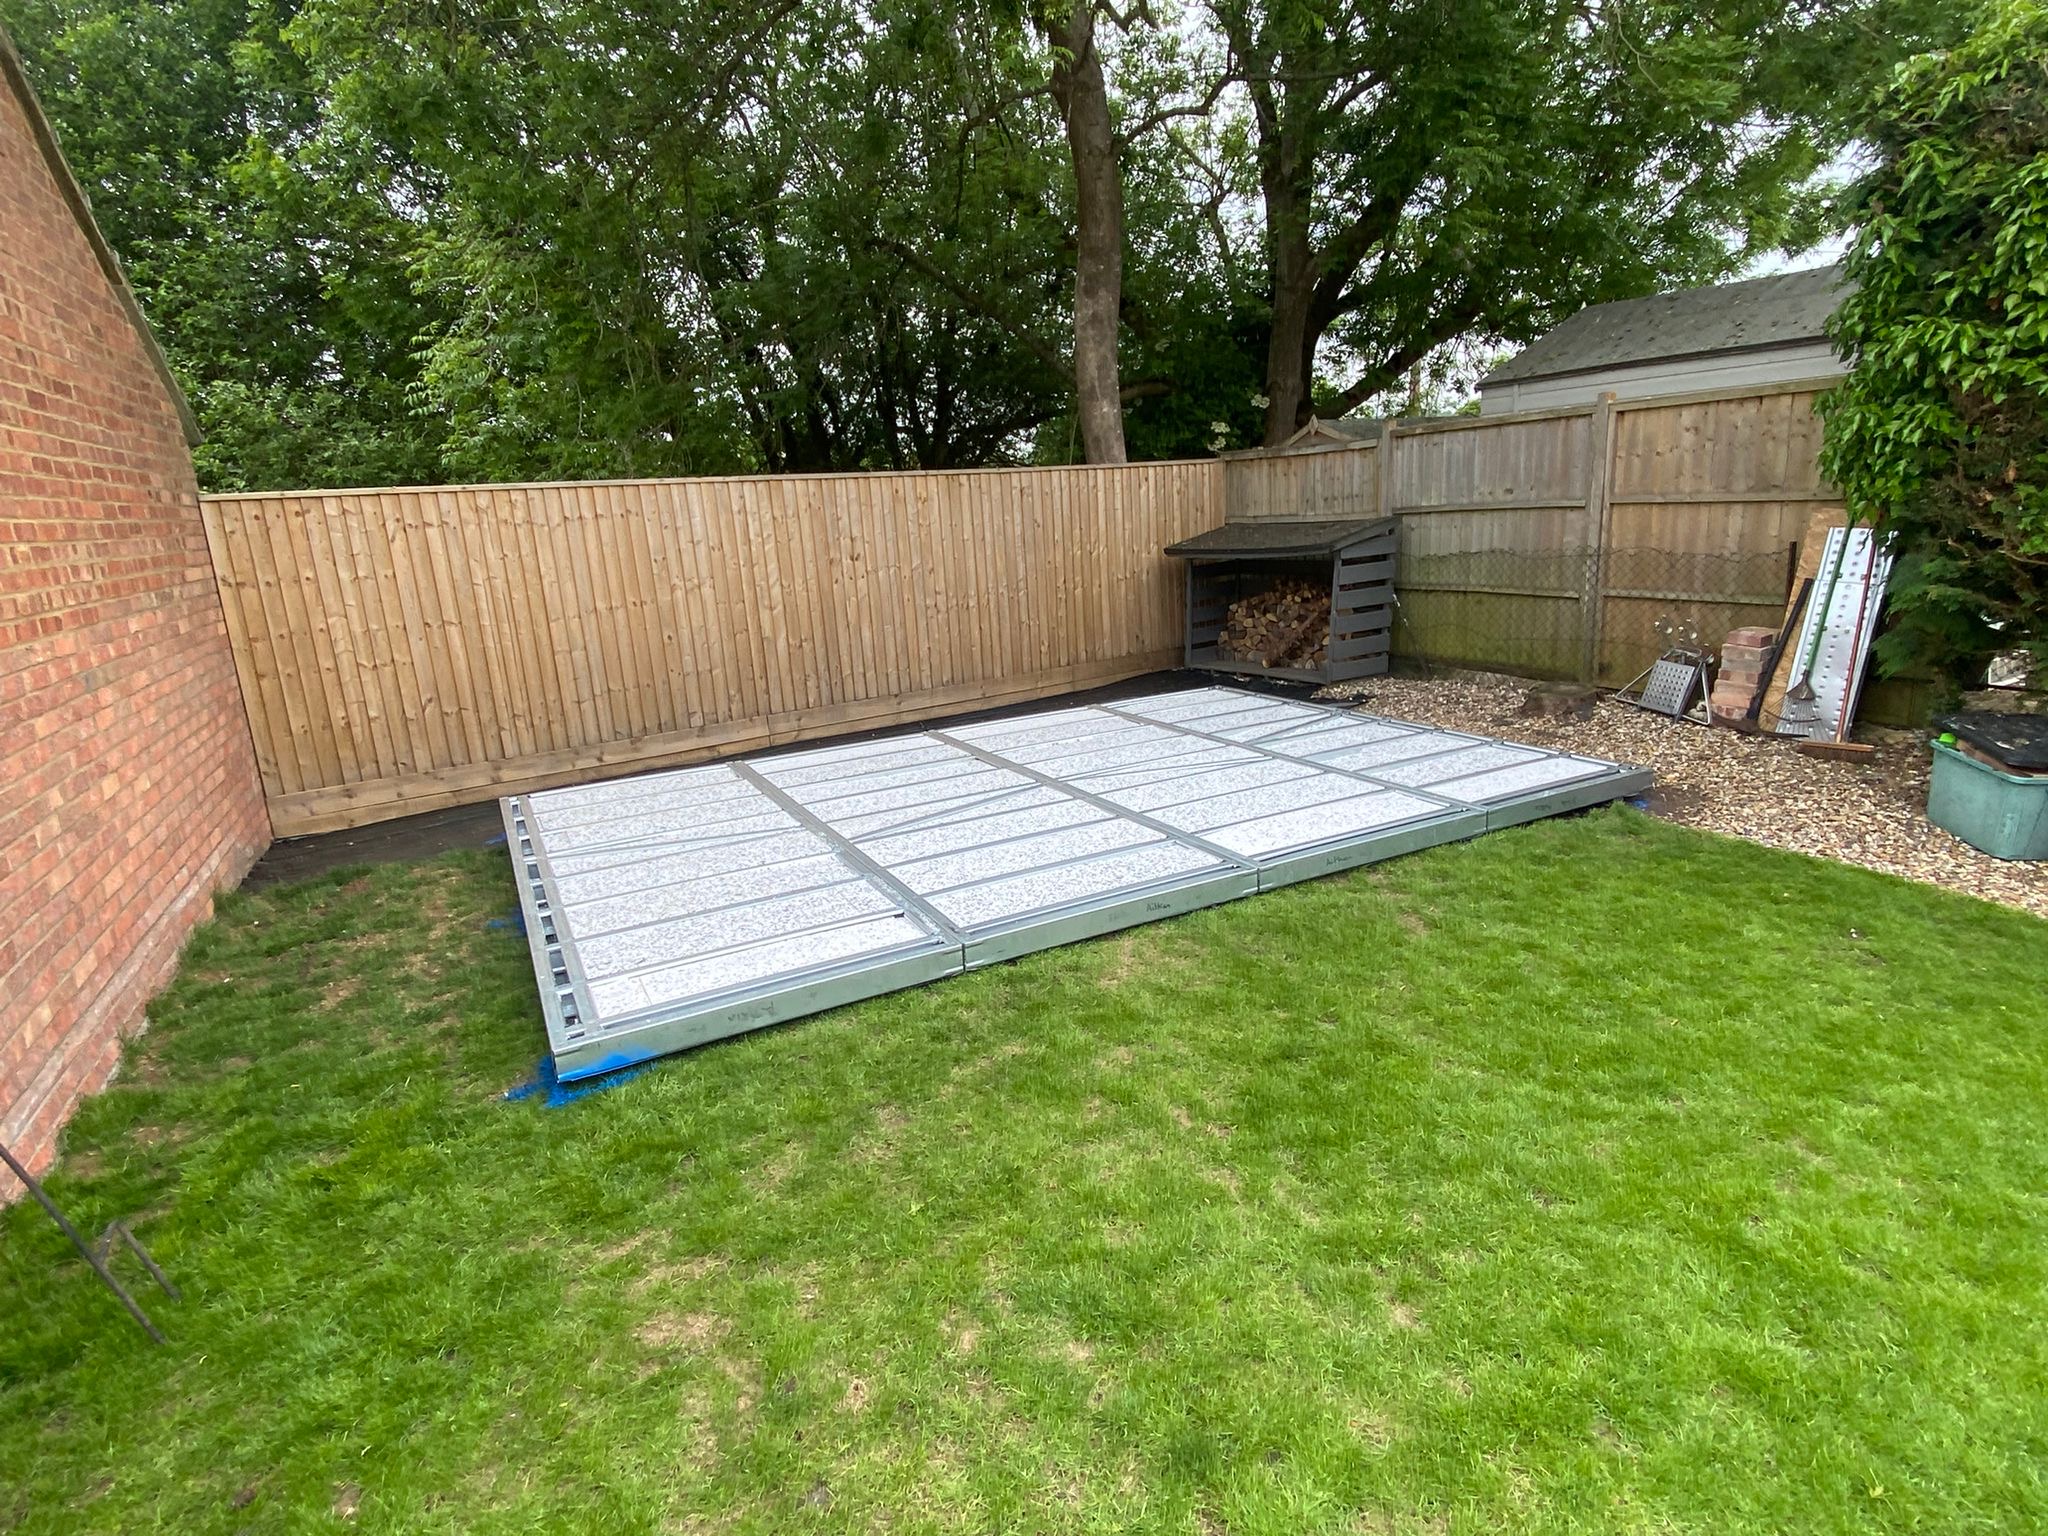
Galvanised Steel Insulated Base
After the ground screws are in, we install the base to support the garden room and any additional decking to the sides or front. We use a 4"/100mm high galvanised steel frame which will not rot like a traditional timber joist frame. As standard we quote for all base frames with 75mm of insulation.
Walls Go Up — Built Close to the Boundary
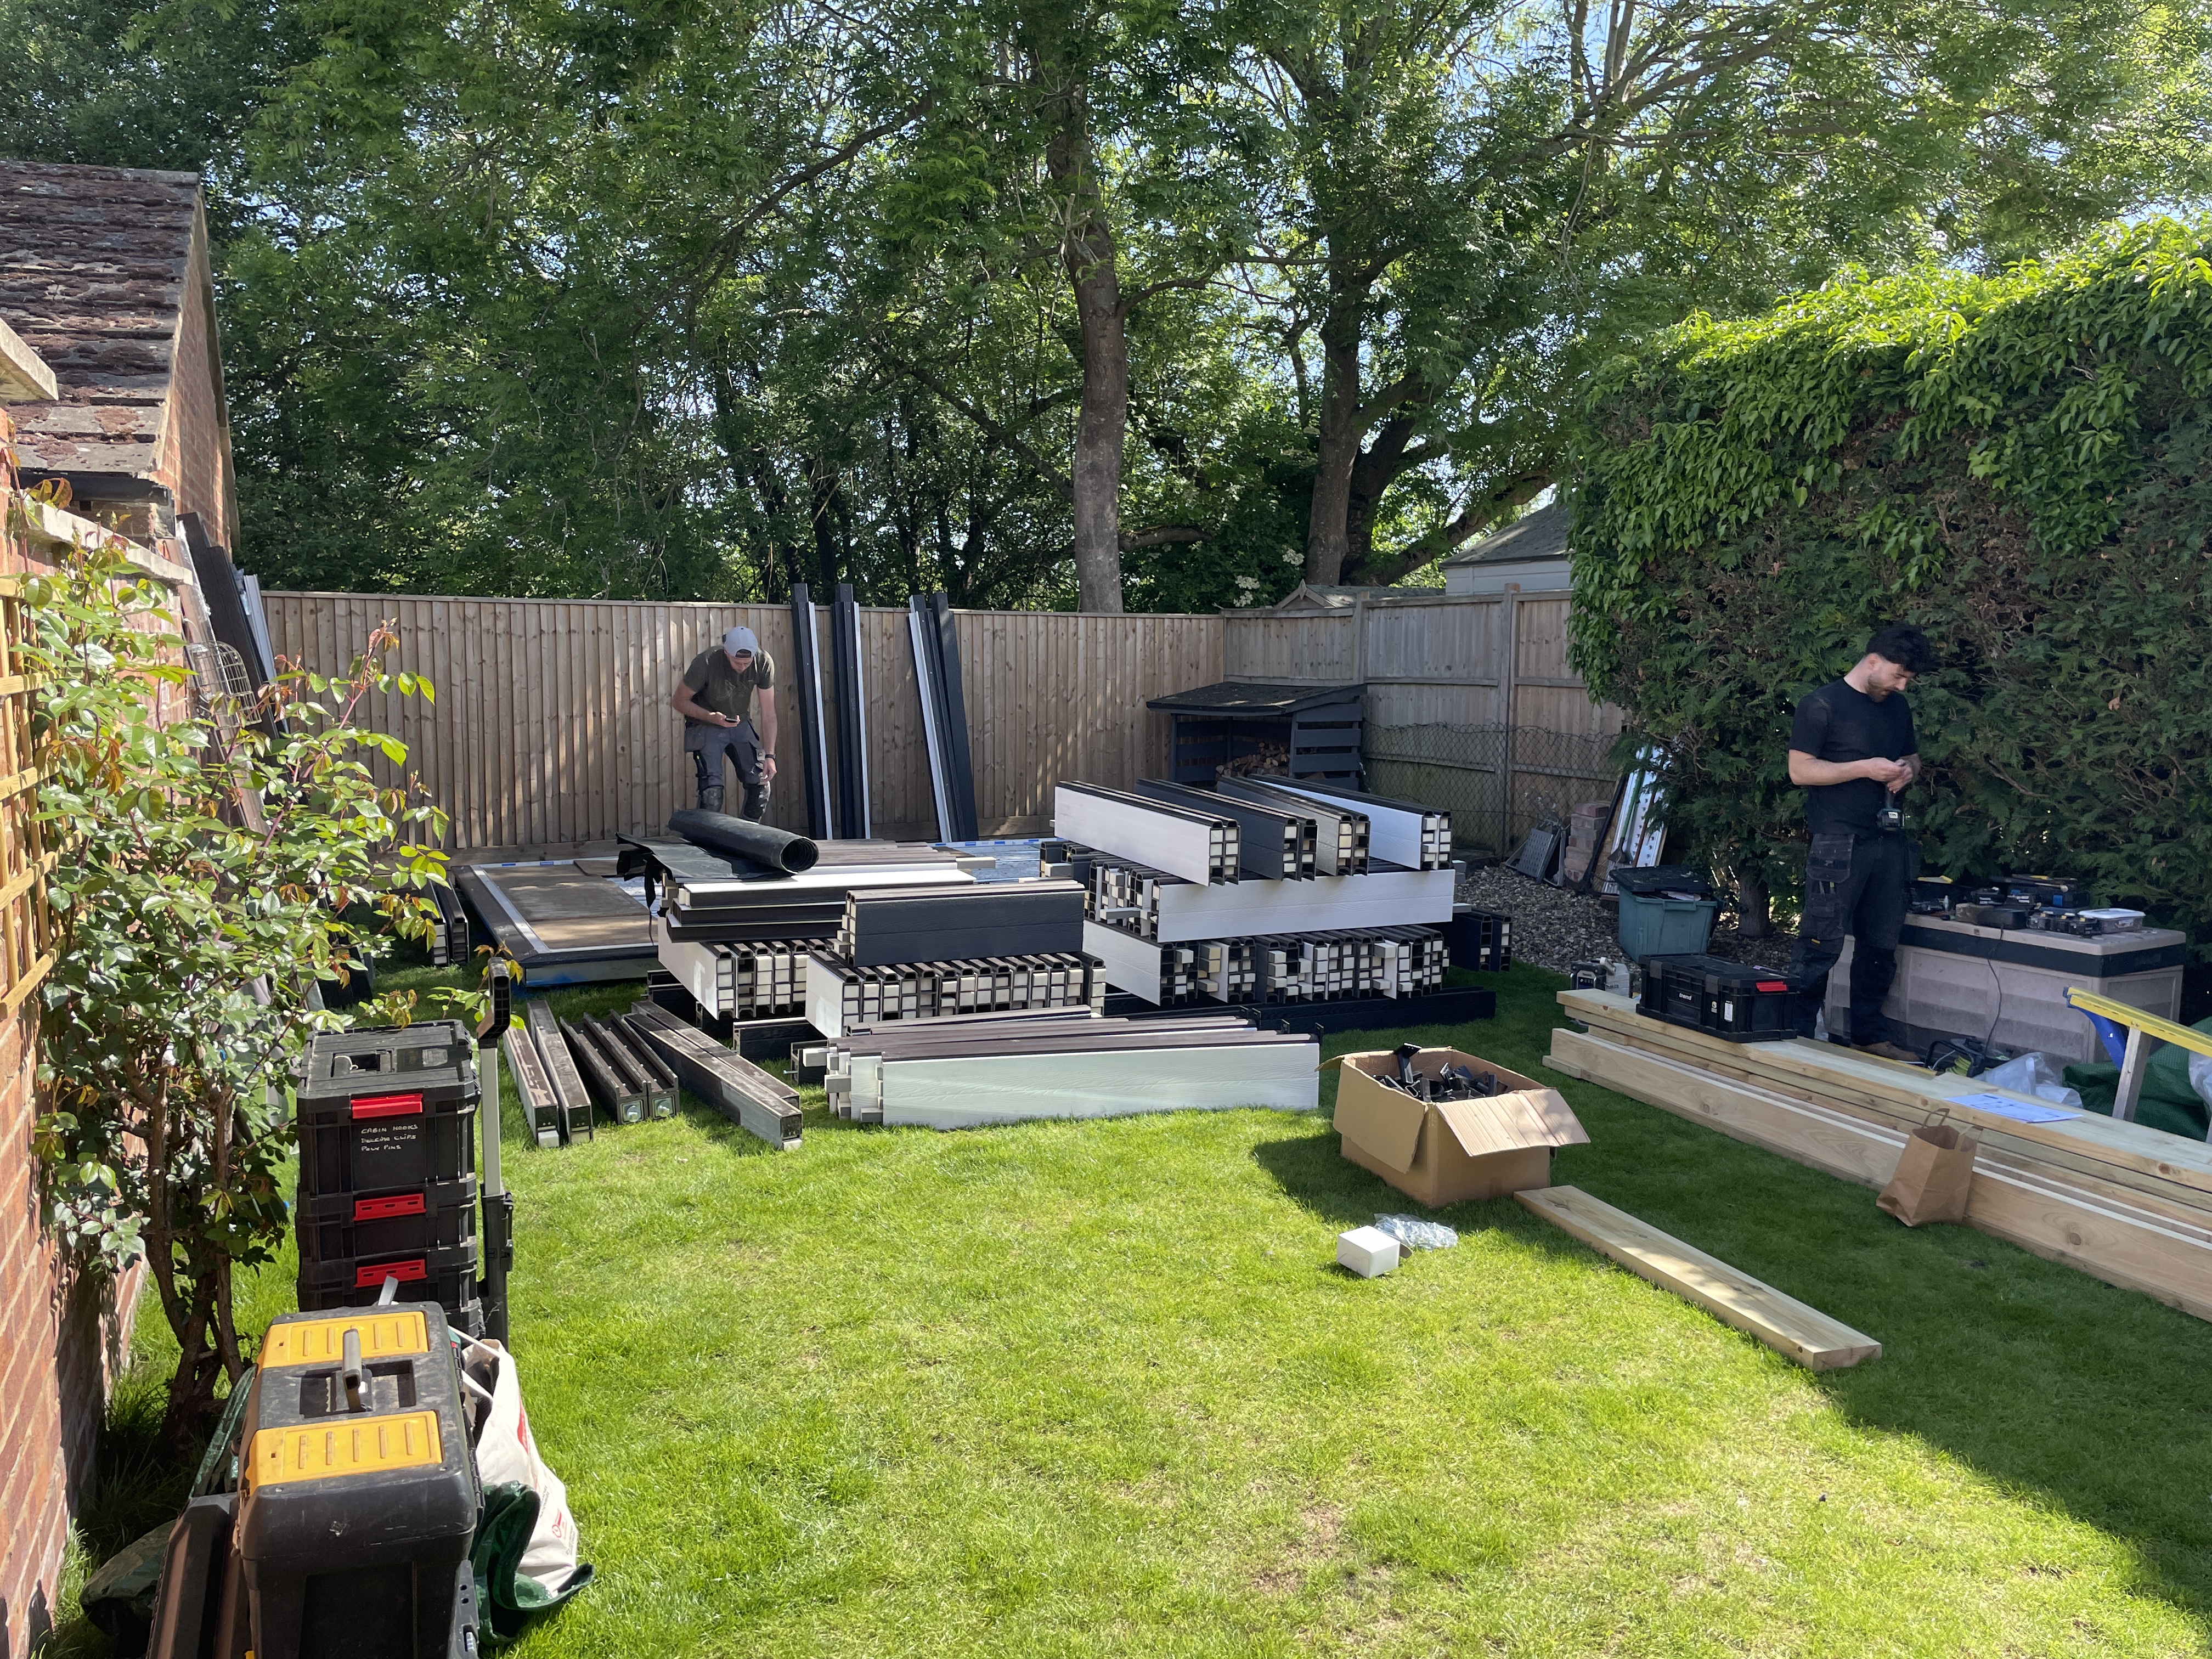
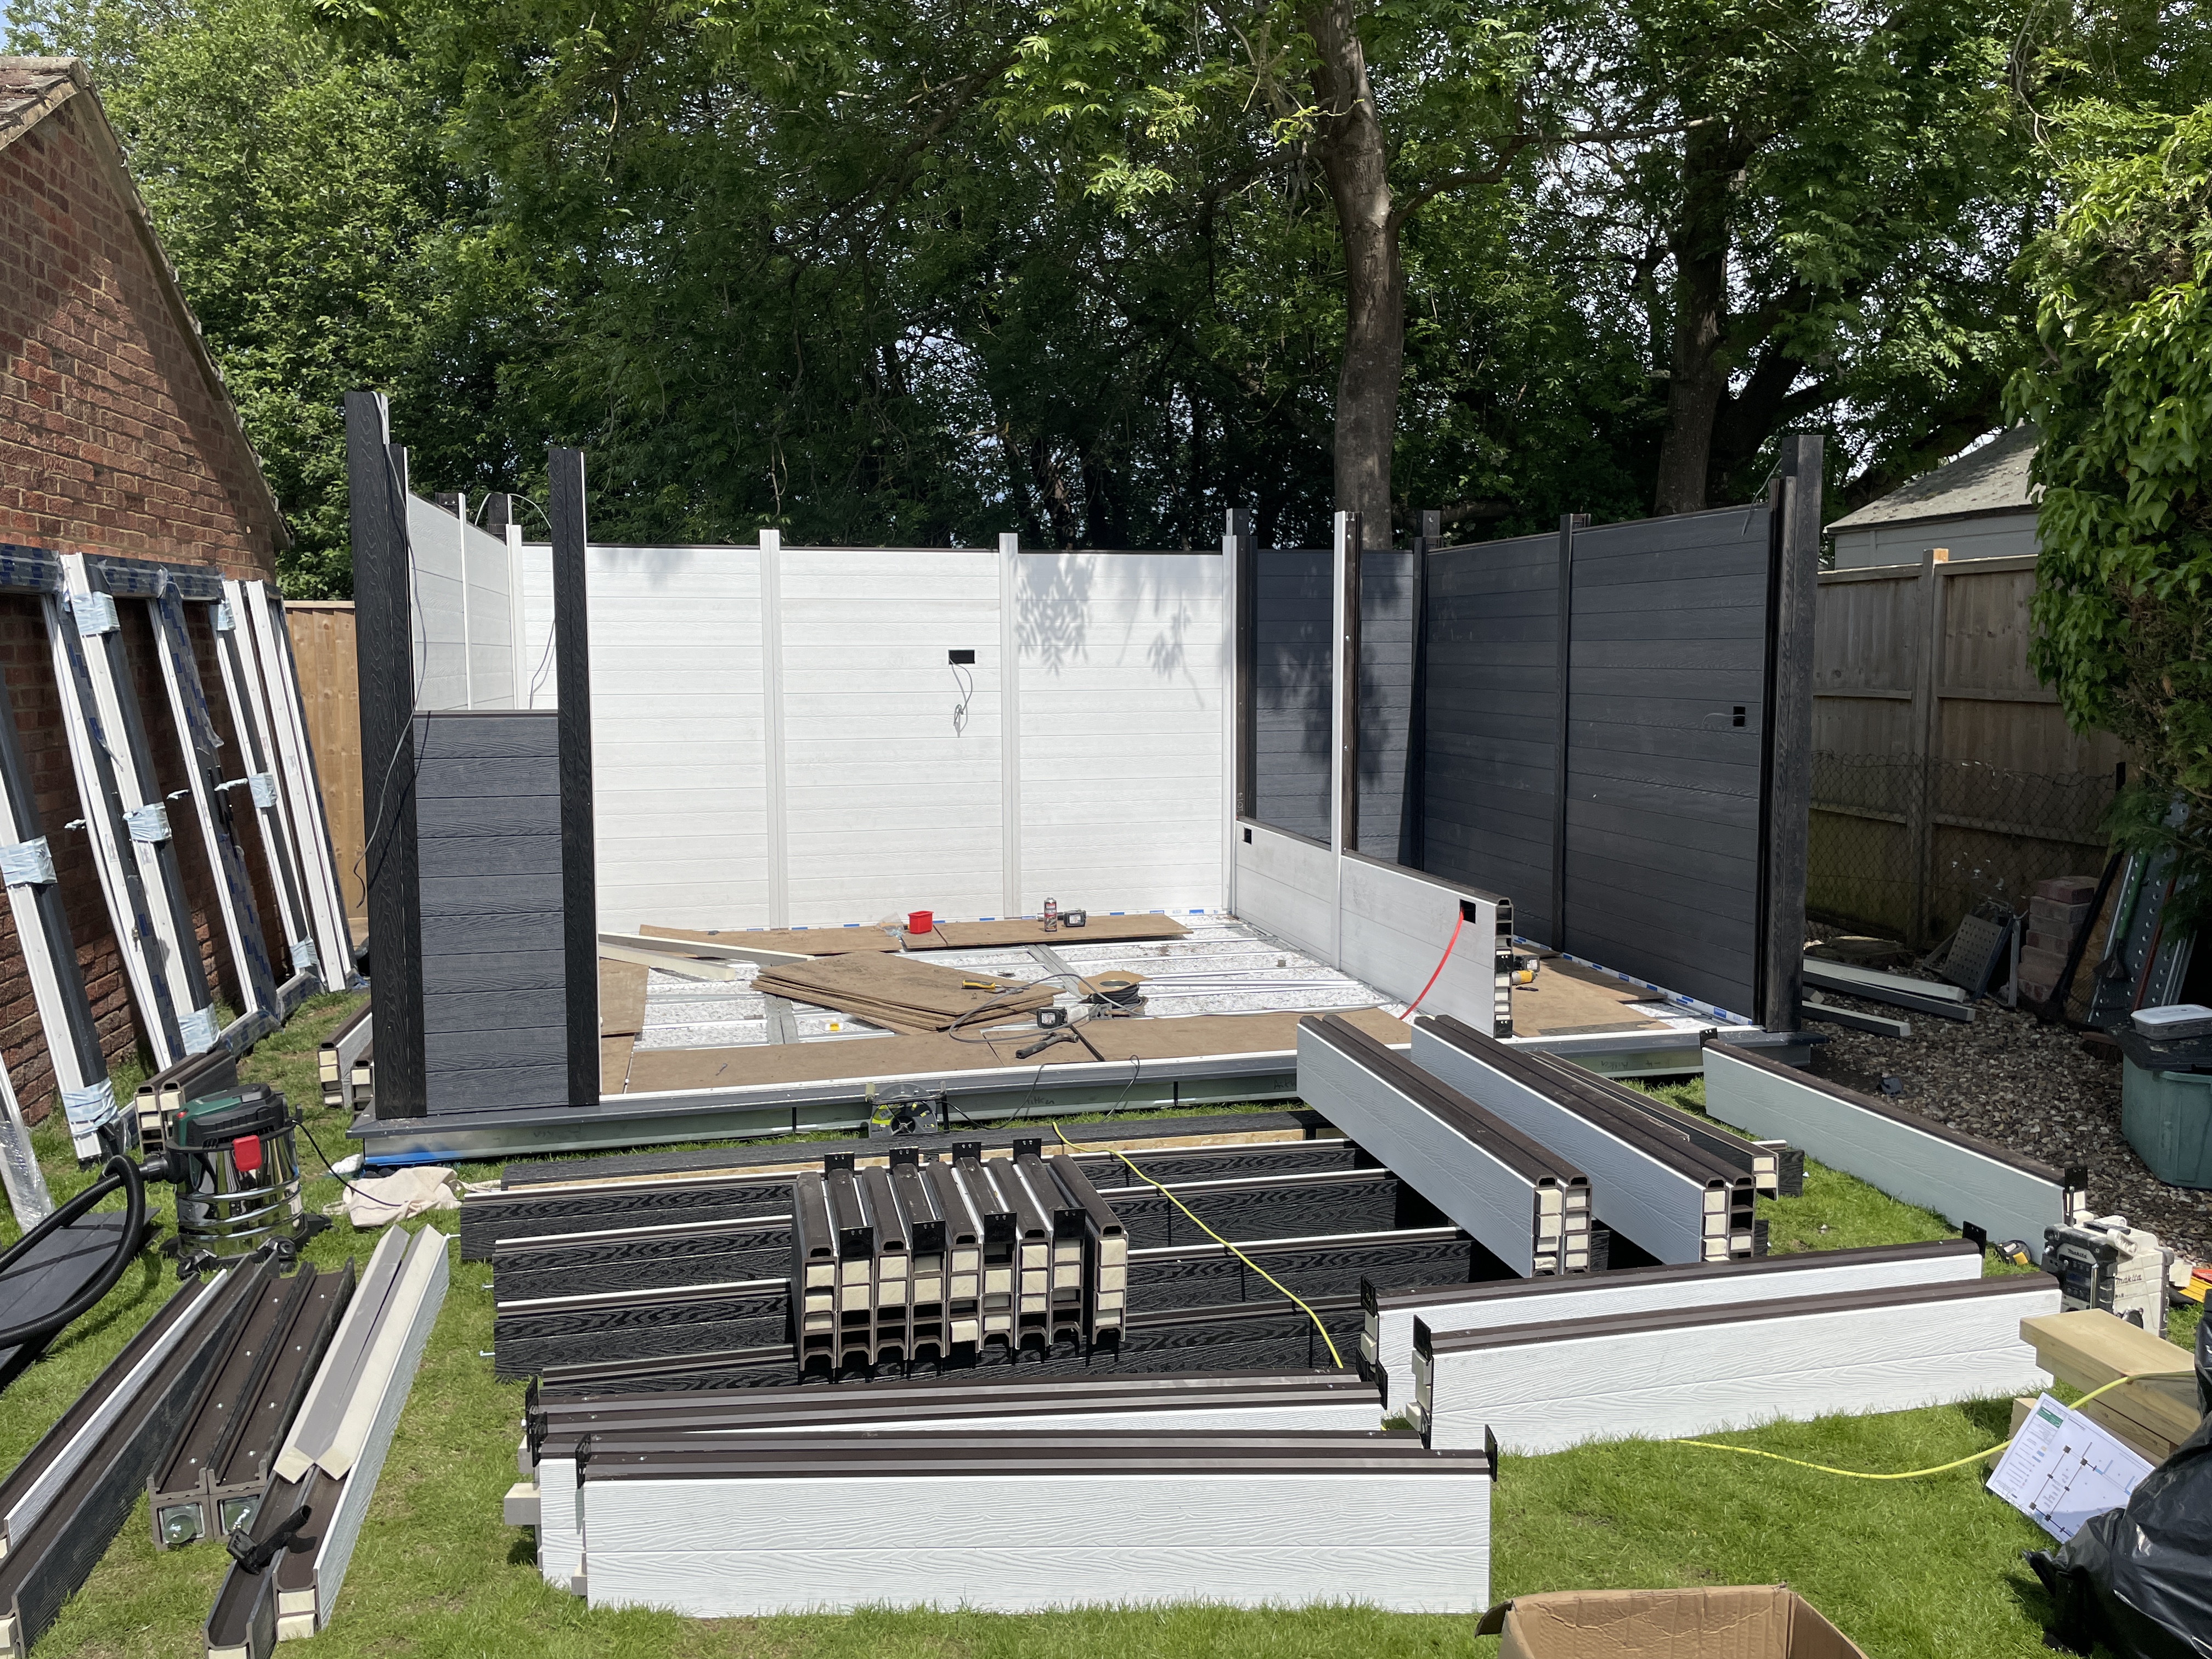
Garden offices, studios, gyms, playrooms, and hot tub rooms all start with the same build system. Our composite wood wall board system has several advantages over traditional methods:
Speed — We can erect the walls quickly, often to roof level in one or two days depending on room size.
Space-saving — We can build very close to the fence, saving valuable garden space.
Weather-proof — Composite walls don't mind a typical English rainy day, so we keep building whatever the weather.
The Roof — Insulated and Weatherproof
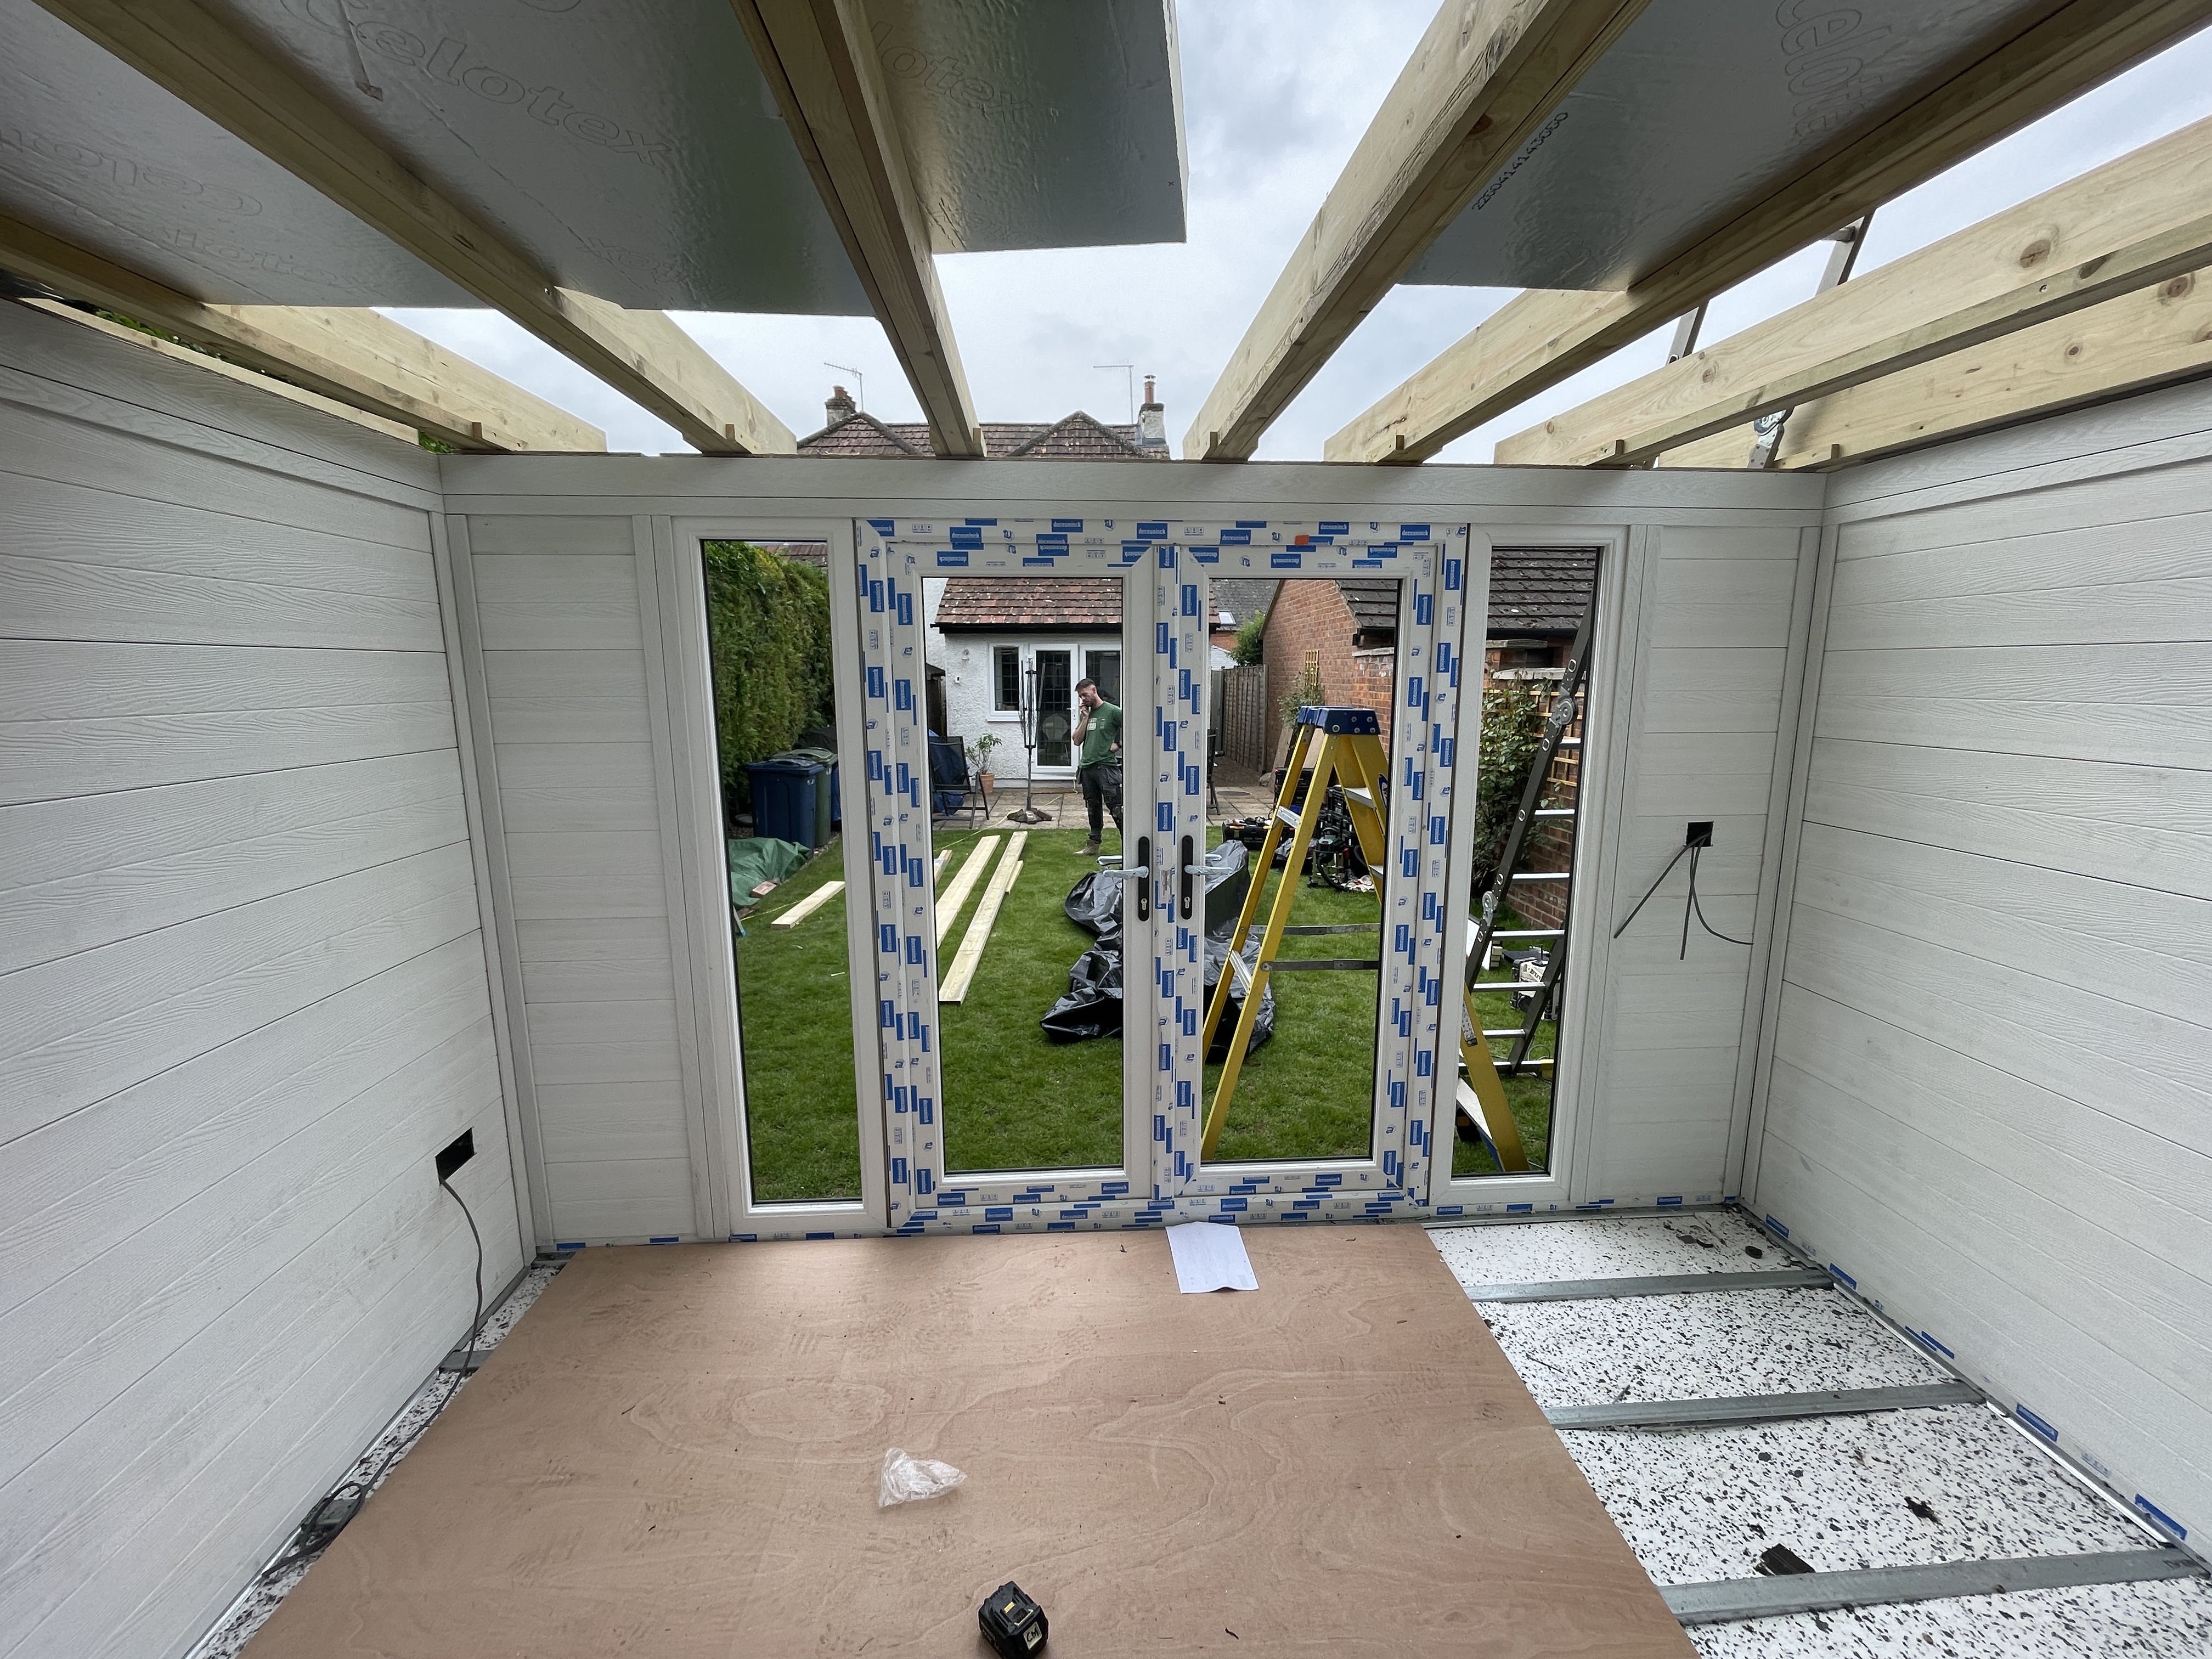
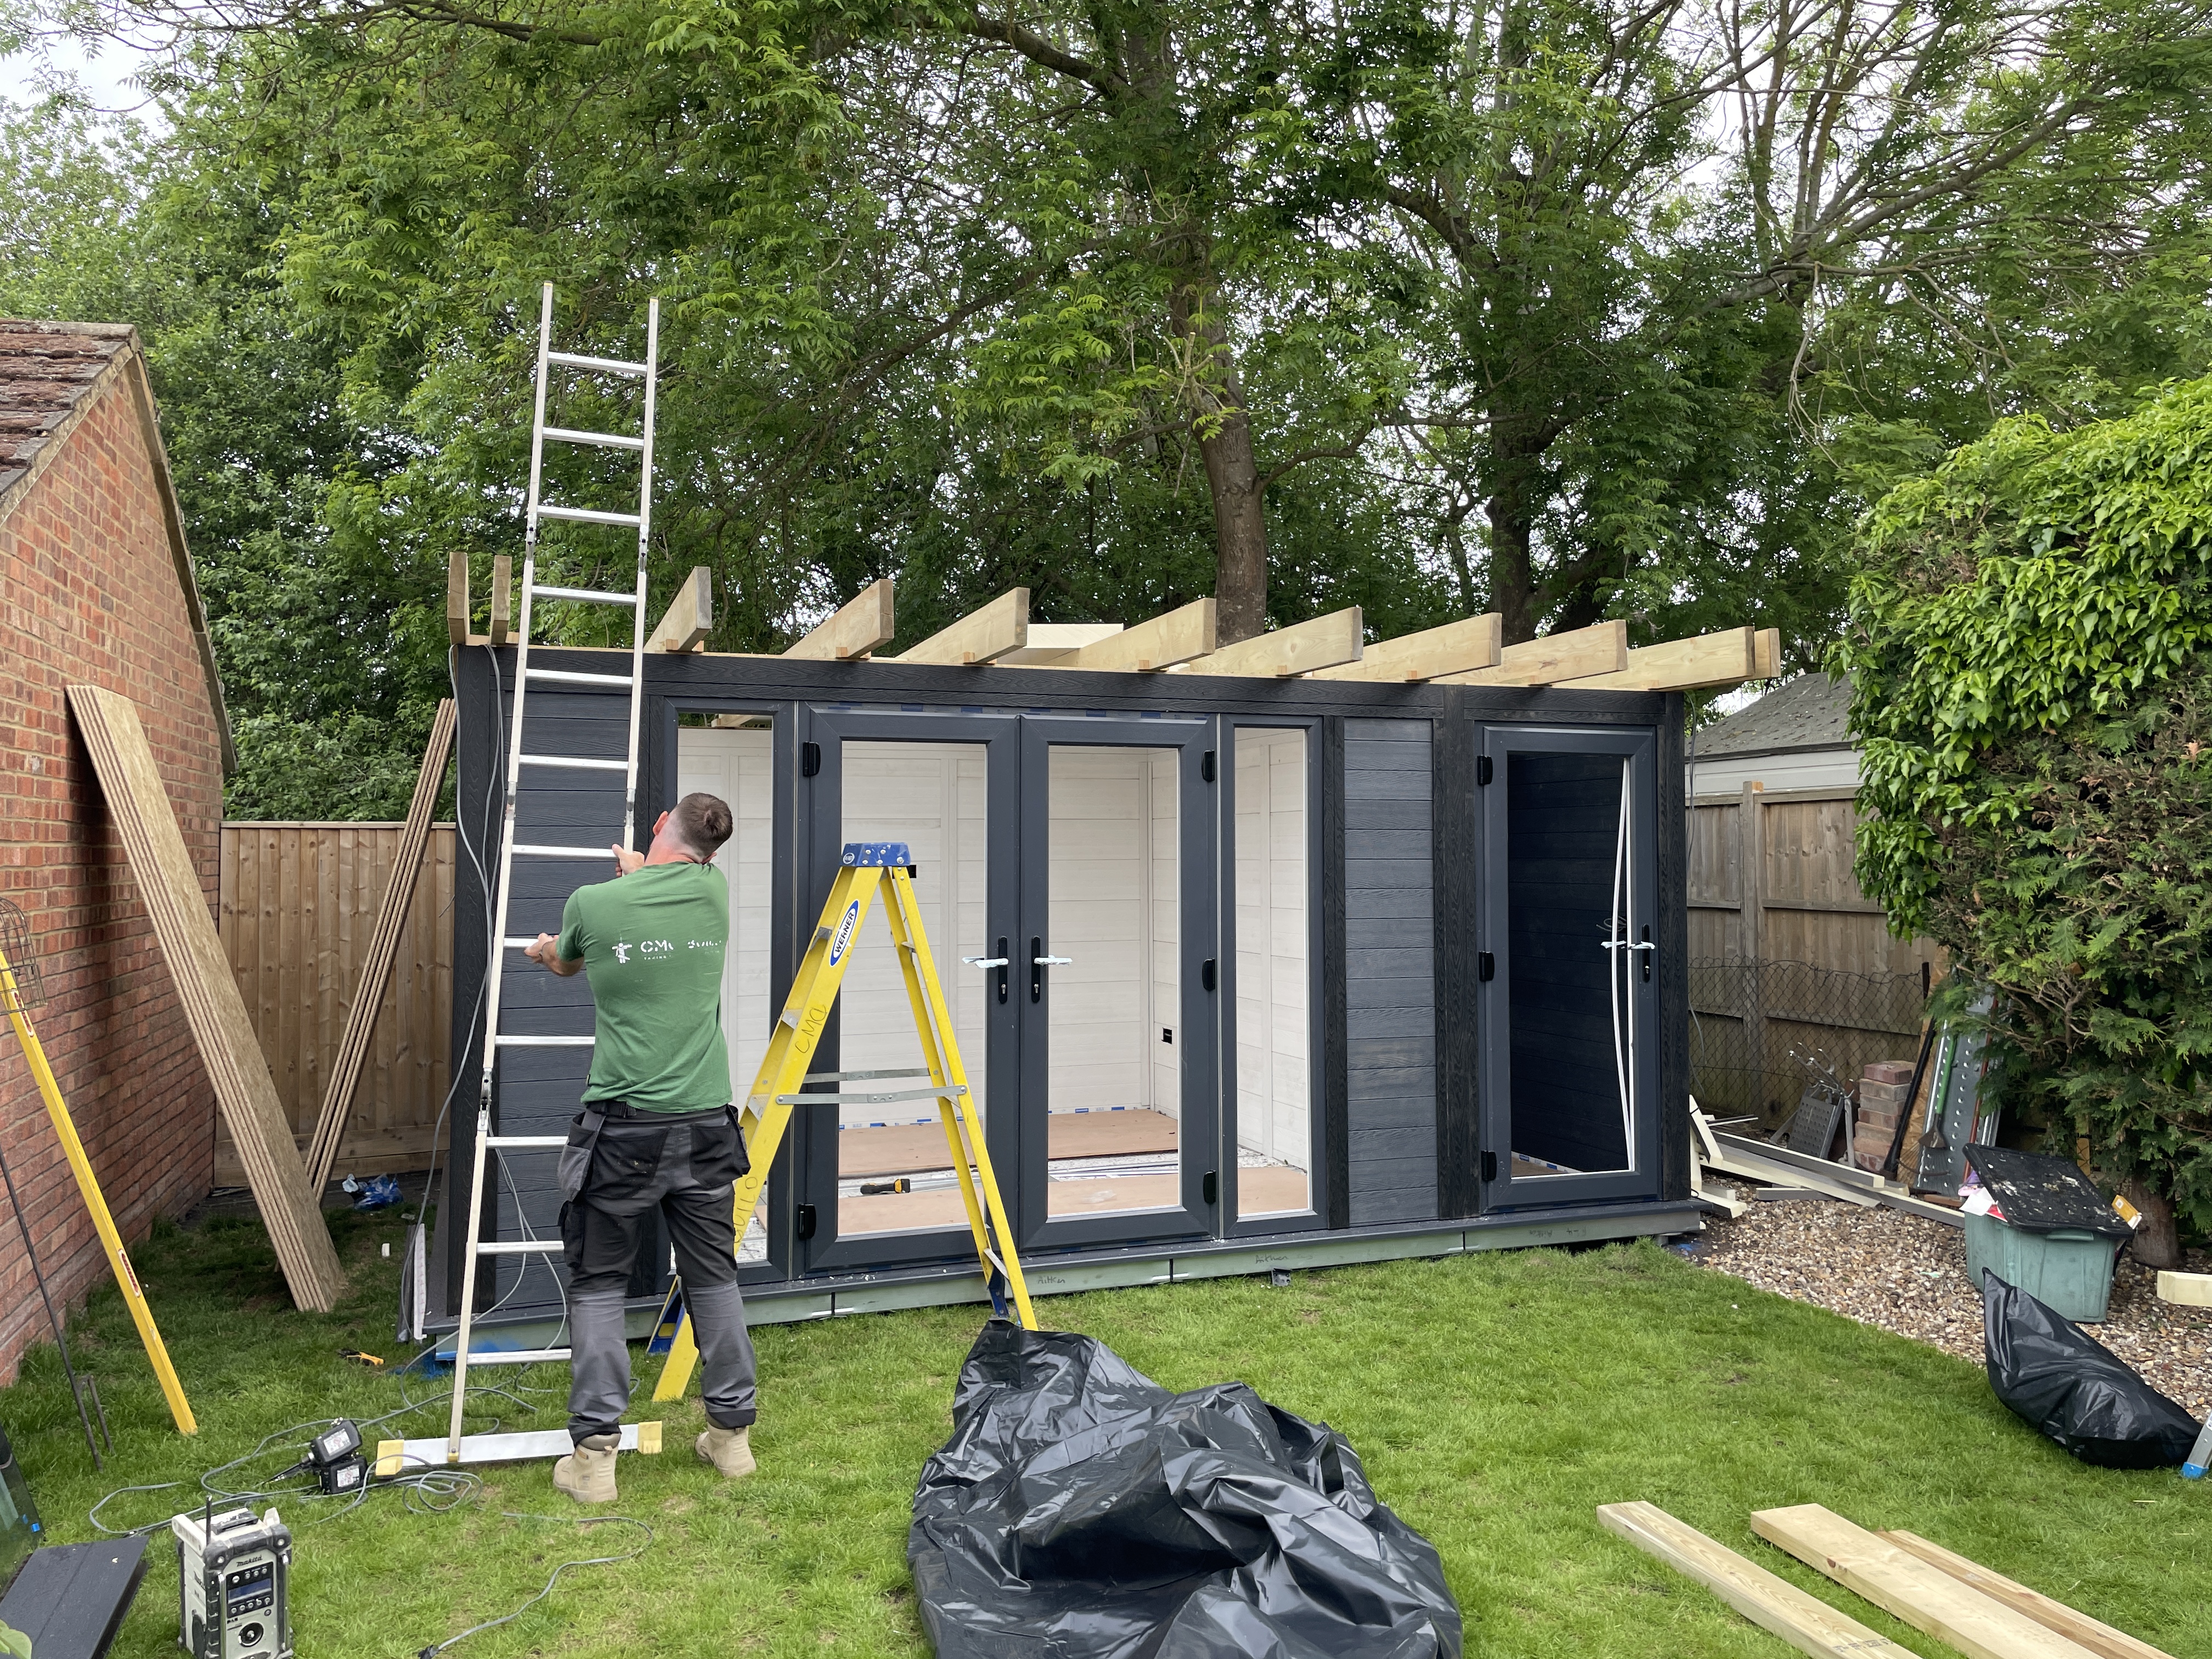
The garden room has a traditional timber joist flat roof, with joists normally pitched at around 600mm centres. Each joist is positioned and fitted to the room. Because heat rises, this is one of the most important areas for insulation — so to stop heat escaping through the roof, we use 100mm thick rigid insulation between the joists.
After the joists and insulation are installed, we lay an 18mm moisture-resistant chipboard deck on the joists. Then comes the Firestone rubber roof — installed in one piece with no joins. Our rubber roofs carry a manufacturer's warranty of 10 years, with a life expectancy of over 25 years, giving you peace of mind for years of maintenance-free use.
The Finishing Touches
After the rubber roof is installed, we fix black fascia trims around the roof and install the soffit and lights if required. Then we move inside:
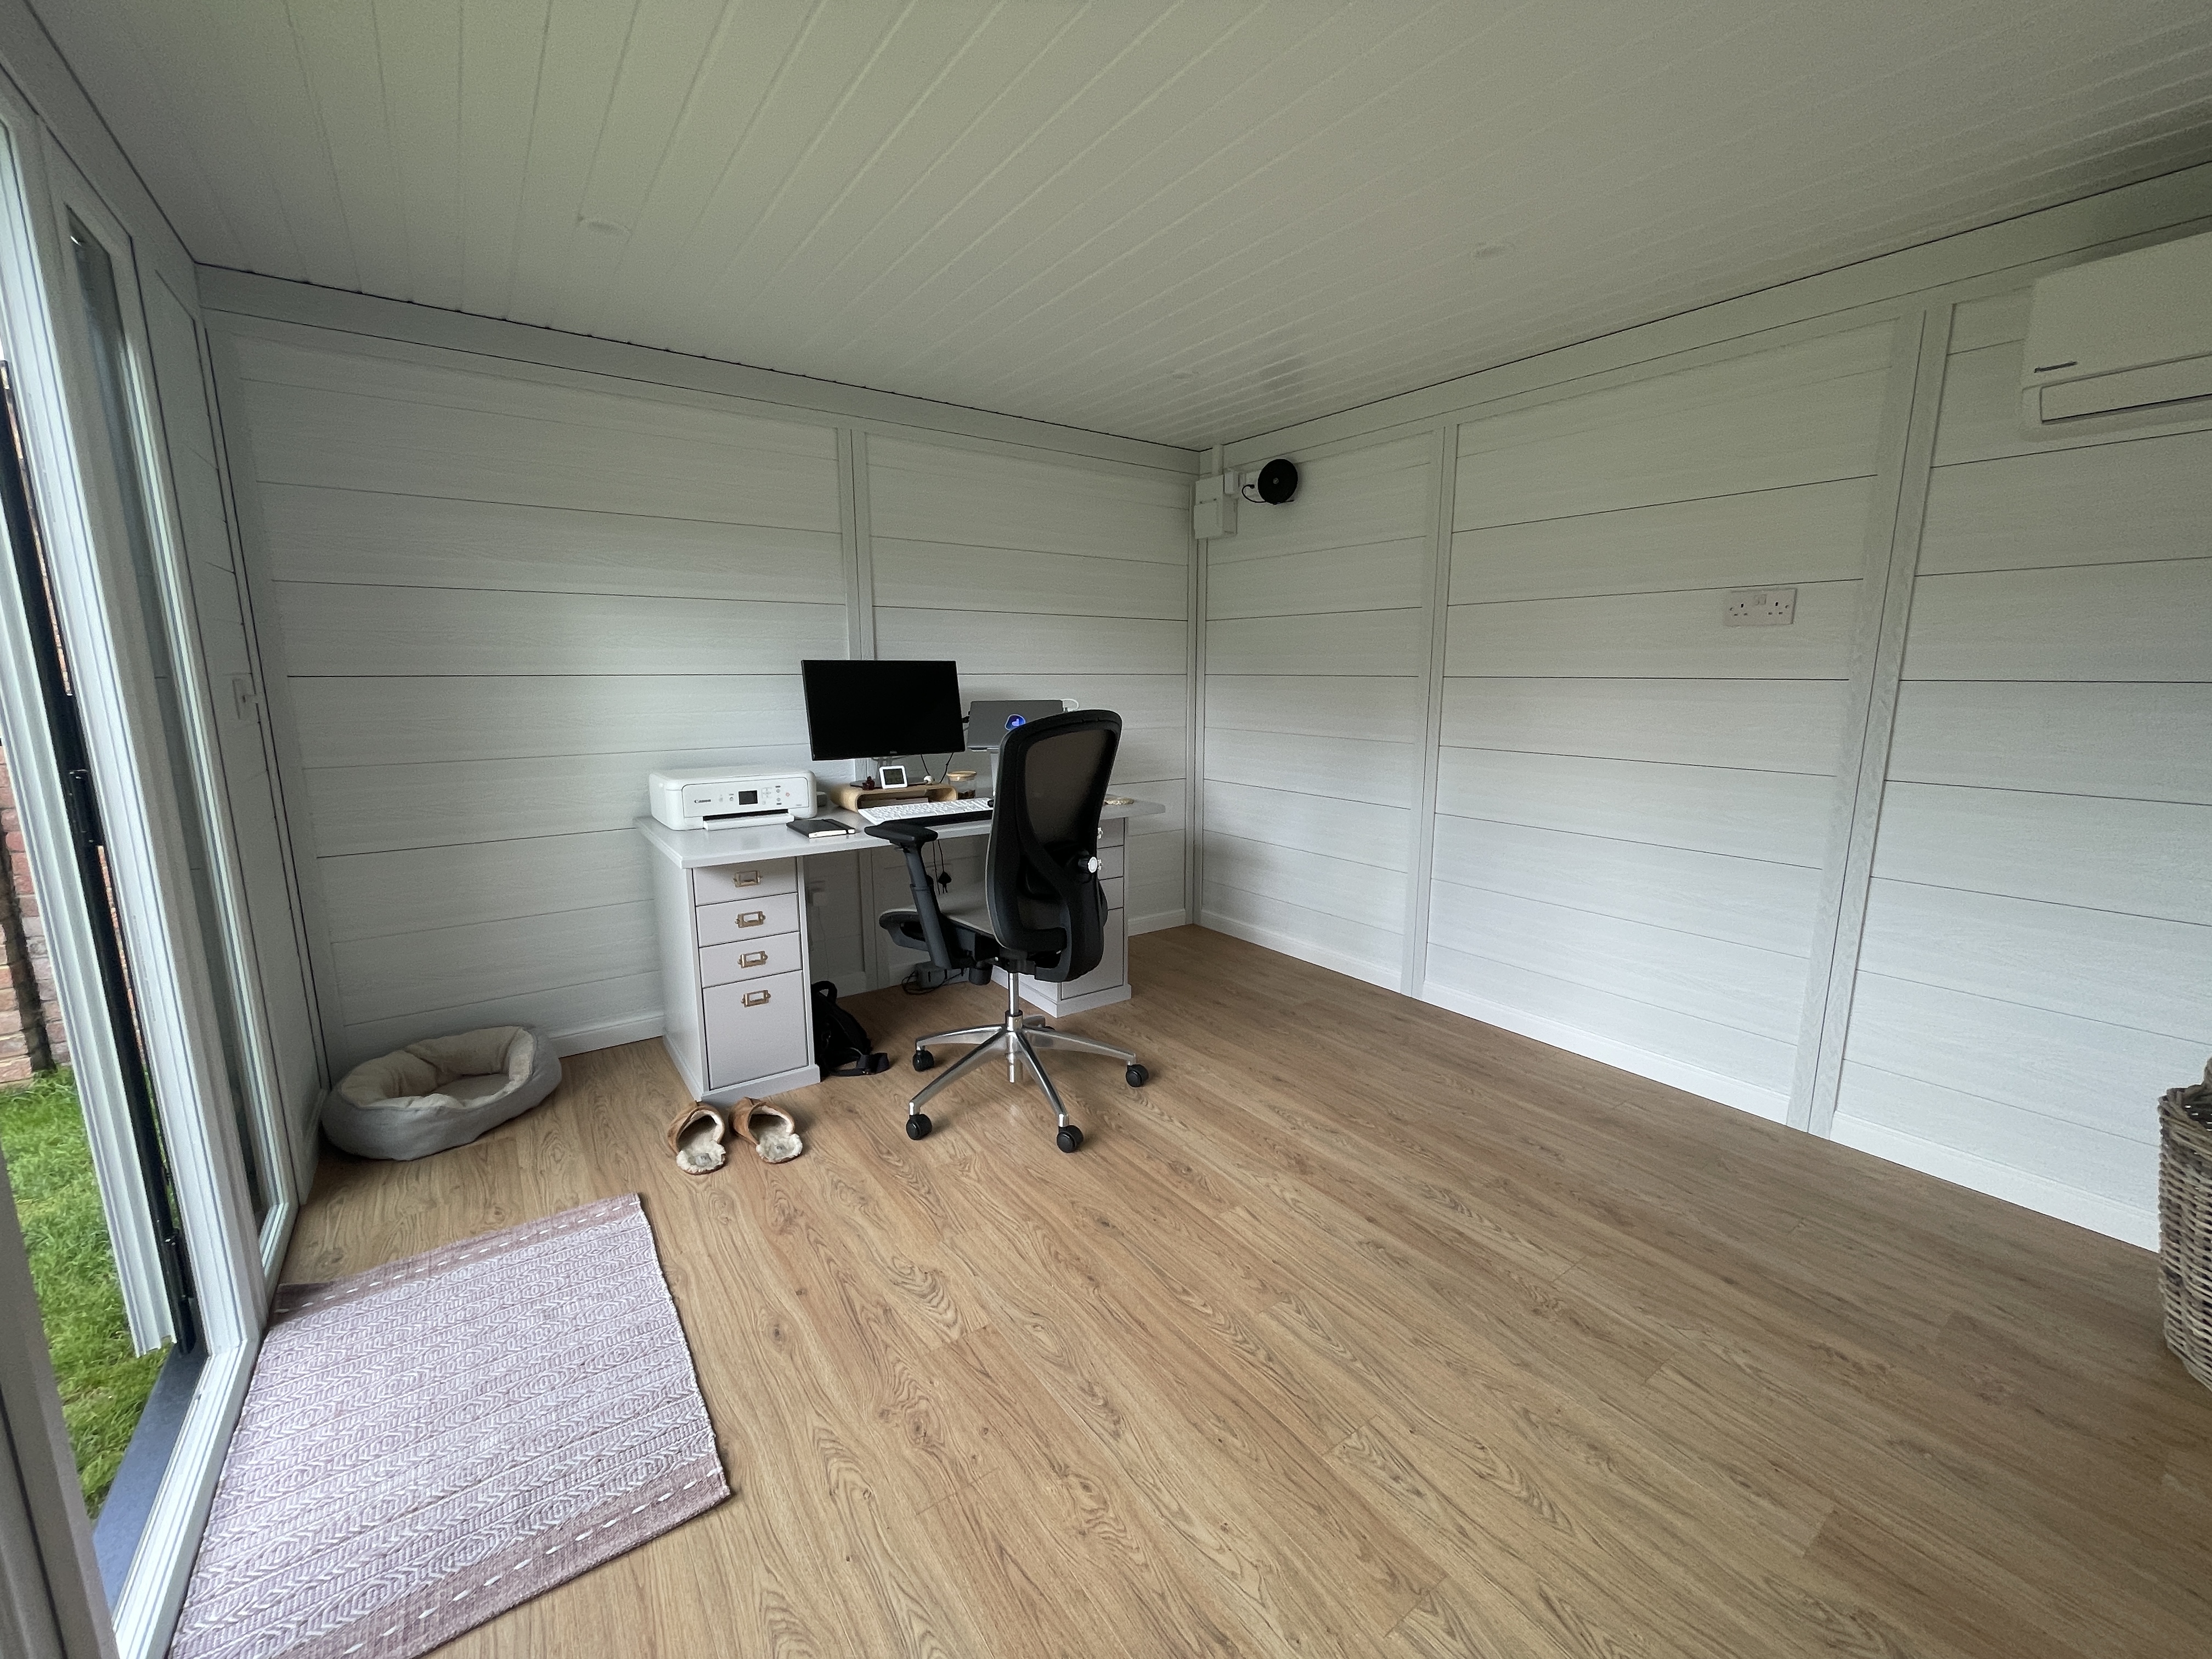
- White soffit board ceiling
- Flooring as specified
- White PVC skirting boards
- Qualified electrician installs sockets, switches, LED downlighters, and a small fuse board
- Connection to your house supply — by us or your own contractor
Lastly, we move outside again to install any composite decking and build any steps needed for access to the room on a sloping site.
Typical Timeline
- Day 1: Ground screws and galvanised steel base
- Day 2: Walls and windows to roof level
- Day 3: Roof structure, insulation, and rubber membrane
- Day 4: Fascias, internal fit-out, electrics, and finishing
- Day 5: Decking, steps, and handover
Most builds complete in under a week from start to finish. Larger or more complex rooms may take a few days longer.
Build Process Gallery